Creating a new Digital Ocean droplet
The creation of a new Digital Ocean (DO) droplet is quite easy and we’re going to cover each and every step you must take in order to get your DO doplet up and running in no time.
Create a new project (optional)
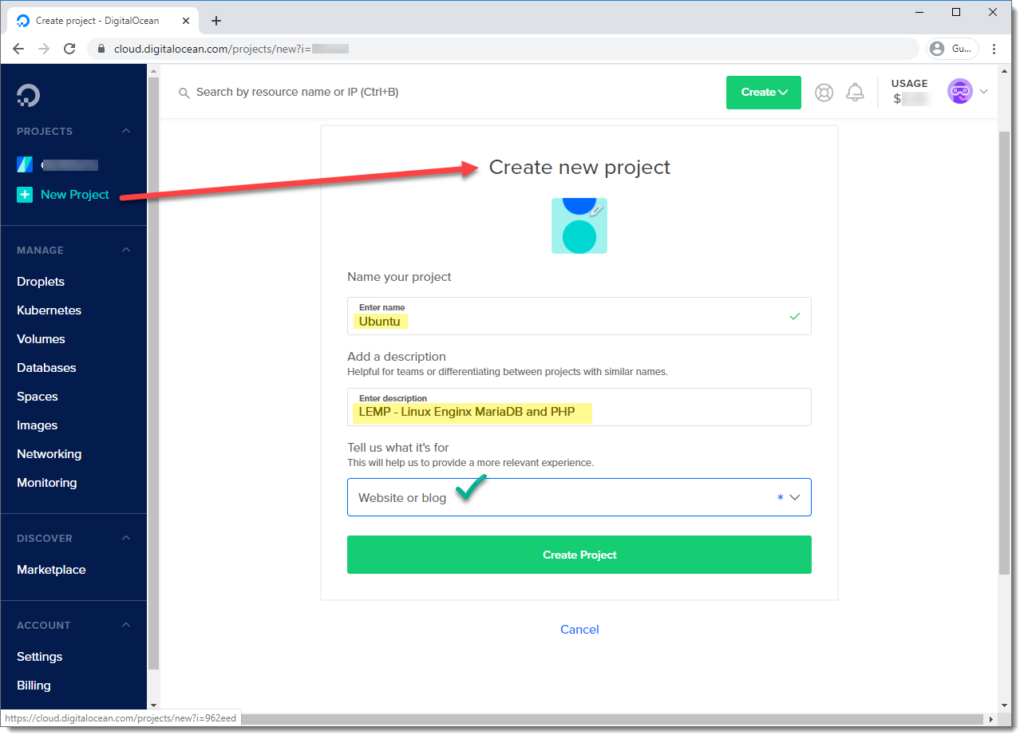
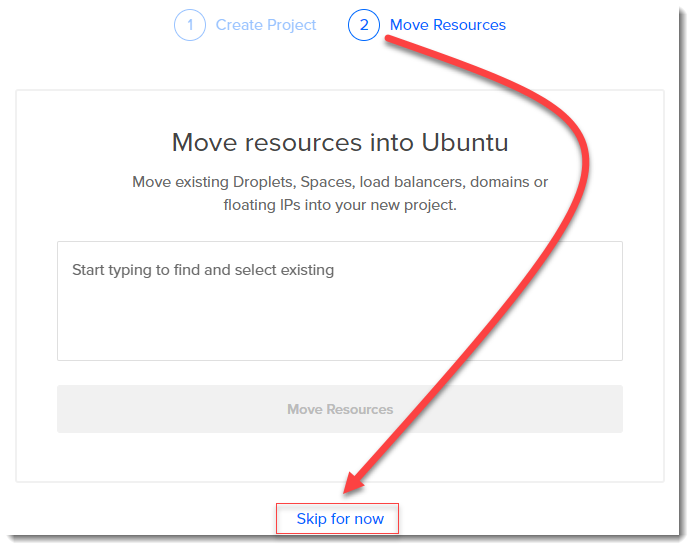
This step is optional, DO allows you to organize your droplets making use of projects, we didn’t use this option the first time but now we’ve decided to use it.
Red Hat based vs Debian based distros
Our first droplet was a CentOS, as you probably know a Red Hat based distro, for this new Digital Ocean droplet we’re going to select Ubuntu a Debian based distro.

Step 1 – Select Droplet
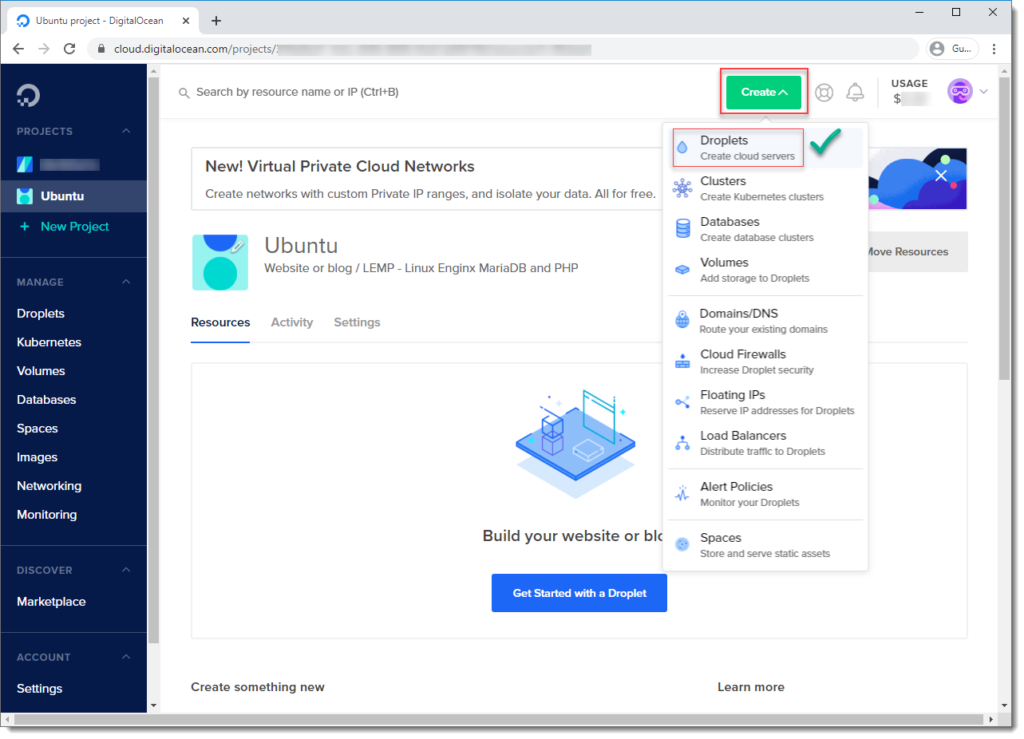
Digital Ocean offer a wide variety of products as you can see in the follow image, be sure to select Droplet.
Step 2 – Choose image
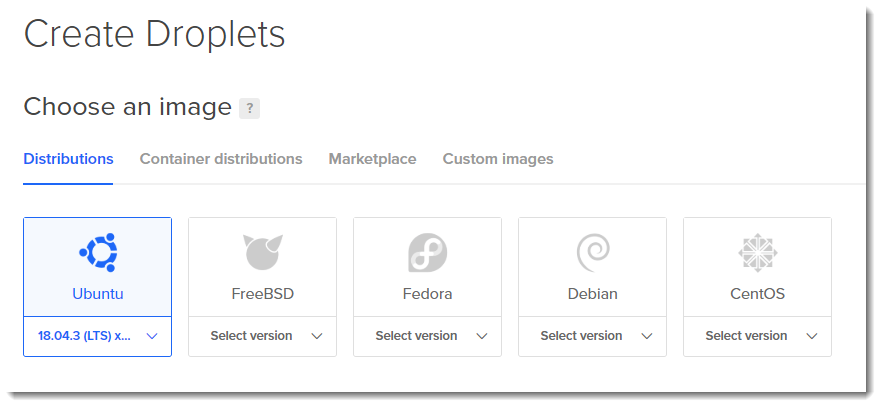
This step allows you to select the Linux distro of your preference, in our case, this time we’re going to choose Ubuntu, DO offers several versions available from the drop-down list.
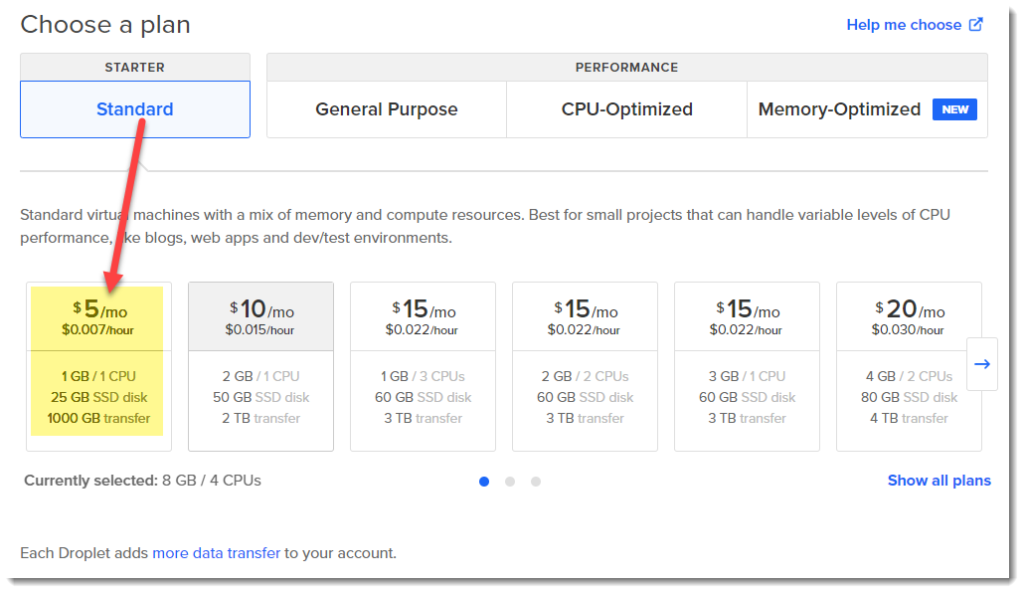
Step 3 – Select Plan
Unless you perfectly know the load of your future website and the amount of resources your droplet will need, just start from the bottom, a $5/month plan is the cheapeast plan you are going to find in the market.
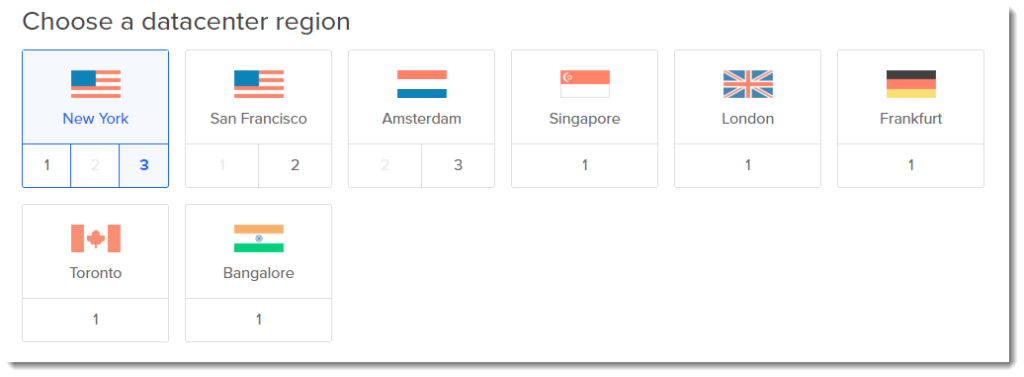
Step 4 – Select Data Center
Depending on your location just go ahead and select the Data Center accordingly.
Step 5 – Select Additional options
One of the additional options that we’ve found quite useful is the “monitoring”, during the OS installation an small script will be installed called “do-agent” that enables droplet metrics to be gathered and sent to DigitalOcean to provide resource usage graphs and alerting.
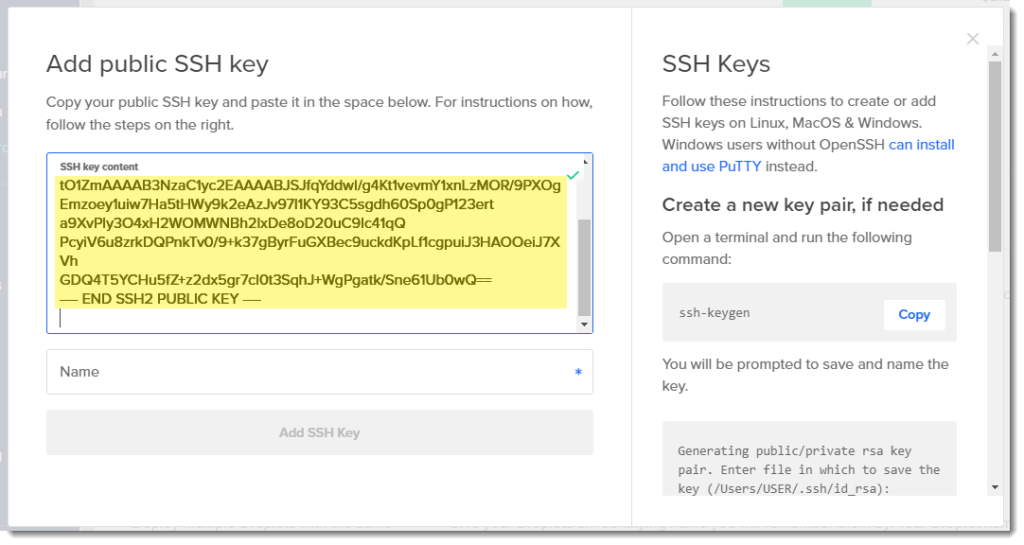
Step 6 – Authentication SSH Keys
Take a look a this article if you need help on the creation of the SSH key that will be used for authentication on your DO droplet, this step is all about that, simply click on ADD KEY and paste your Public SSH key, if you prefer to configure everything manual then you can choose the one-time password method, is up to you.
Putty and WinSCP users may want to use the “puttygen” tool to generate SSH keys, take a look at this article to learn how to do that, users of SecureCRT can follow the steps included in this article.
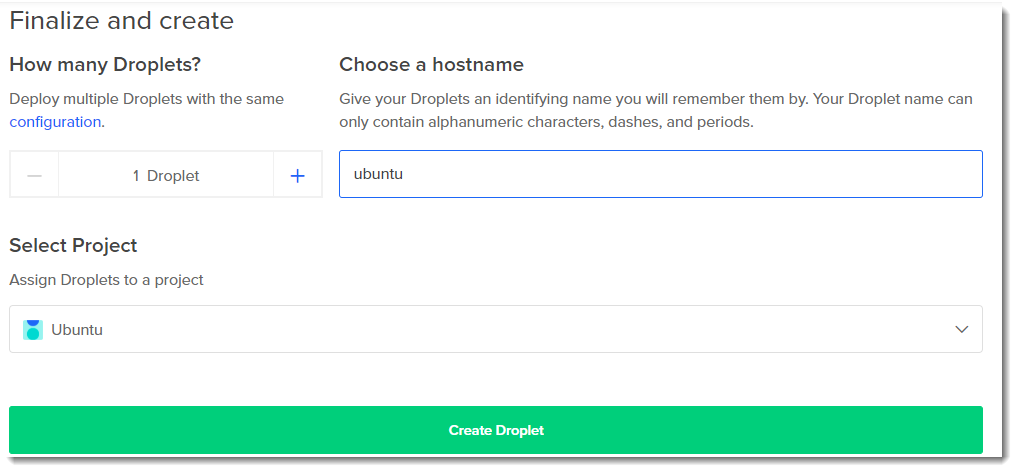
Step 7 – Finalize and create
This is the last step, here you must select a name for your DO droplet and also the project.
Where to go next?
The droplet creation will proceed and you will be surprised on how fast it finish, in almost no time your brand new Ubuntu server will be ready for you to access, we are going to cover that in a further article, stay tune.

