Prerequisites
You’ll be ready to start the installation of your guest OS only after completing the following tasks:
Installation wizard
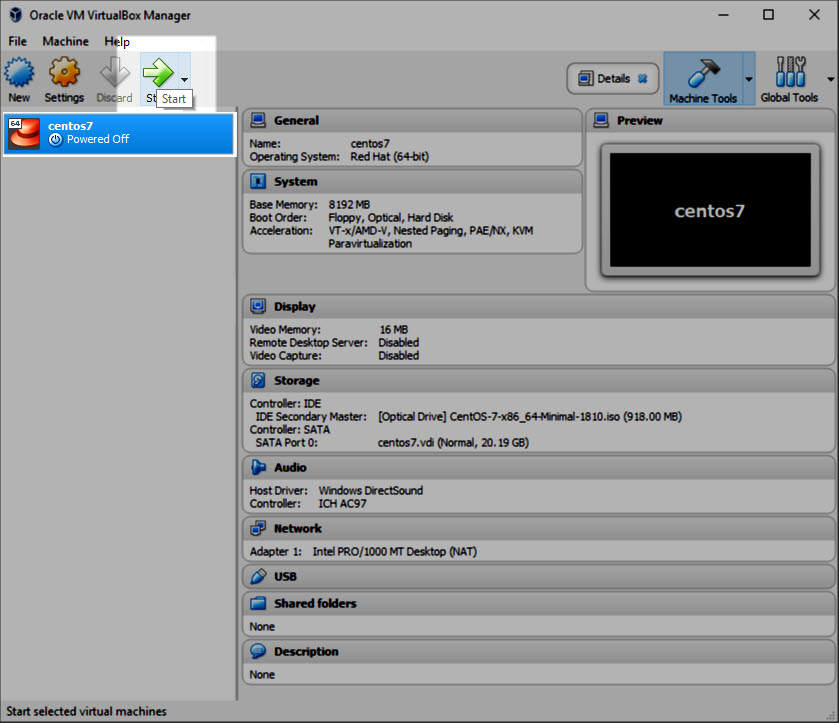
Launching the installation wizard is really easy, you just need to click the big arrow shaped “Start” button located in the Tools’ bar, see screenshot below:
Selecting an installation language
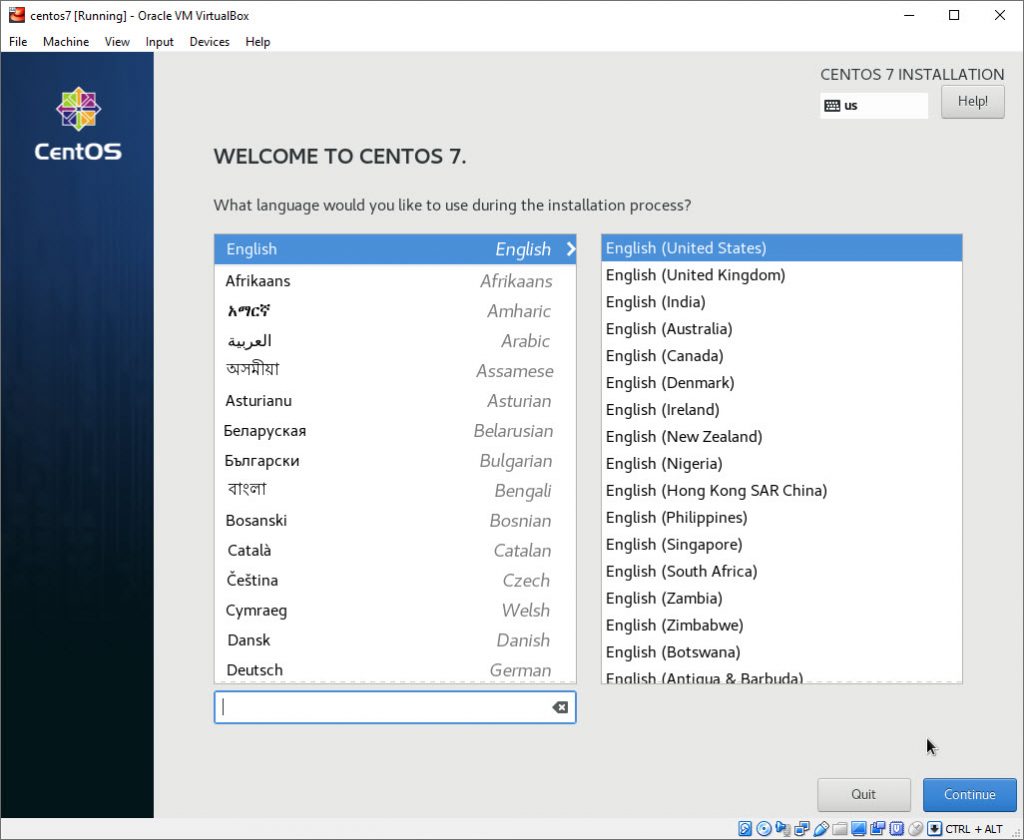
There are many languages available for you to choose for the installation process, later you’ll also have the possibility to choose the language for your keyboard layout.
Default Keyboard Layout
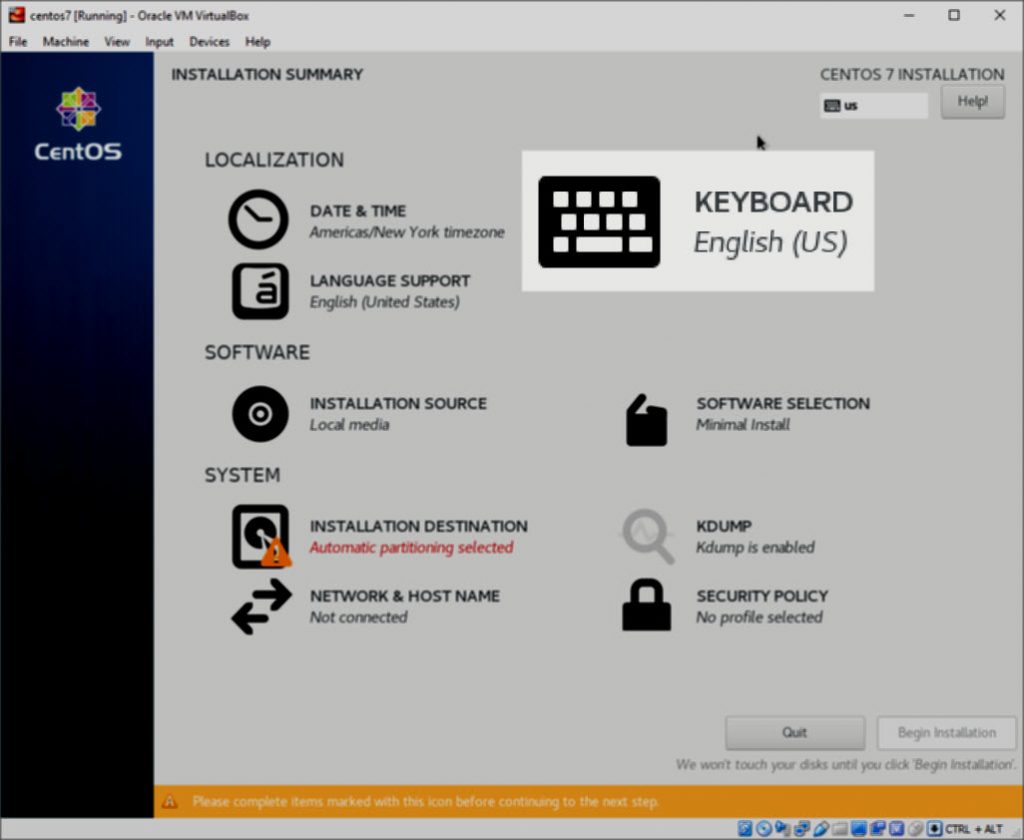
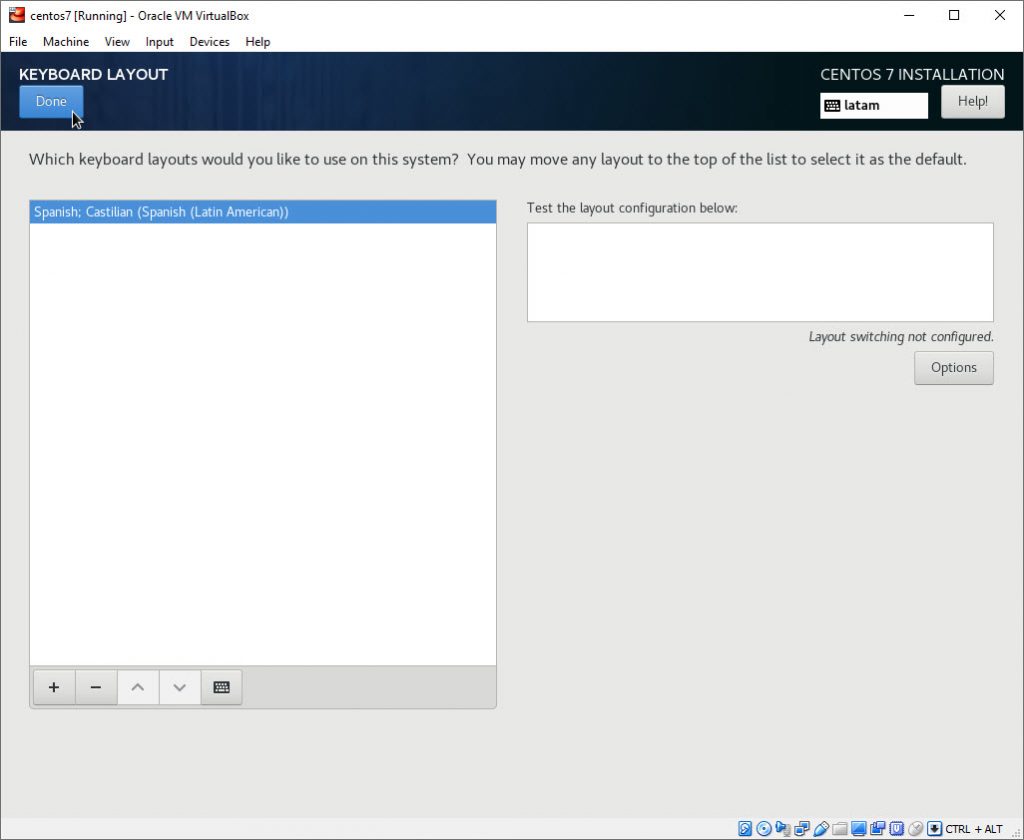
The installer comes with “English (US)” as the default Keyboard layout, that is perfectly fine for the people in the US, but for the rest of the world, it’s most of the times a good idea to change this setting.
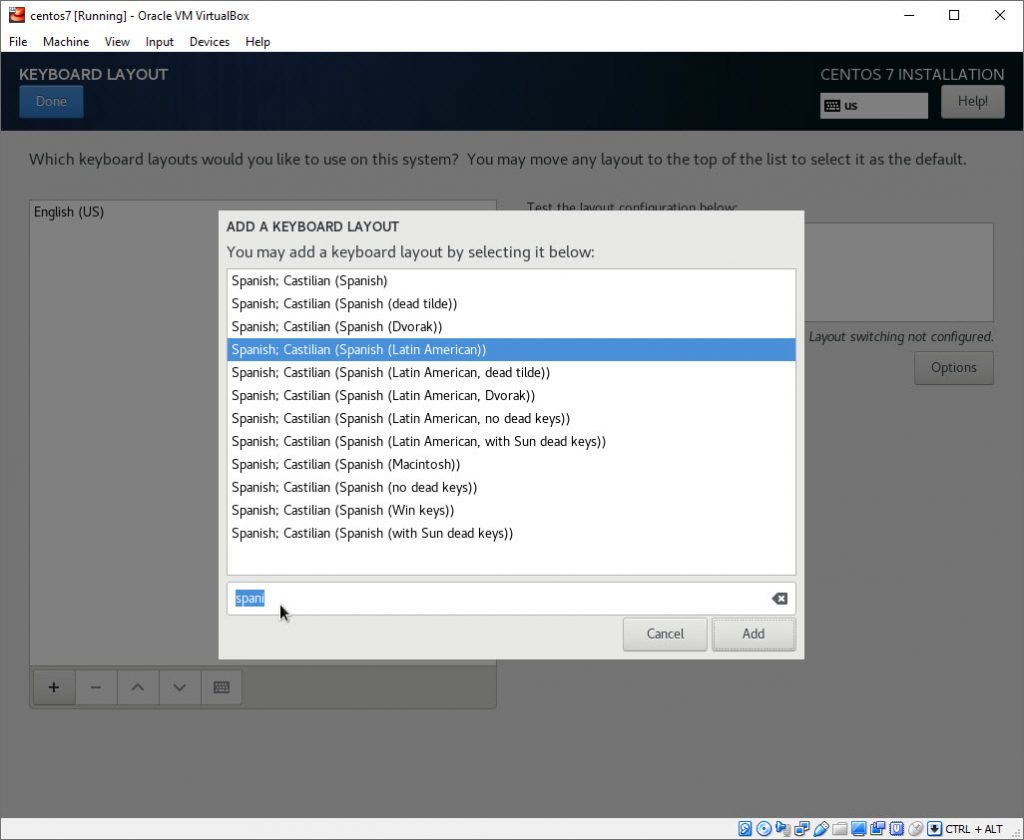
Changing Keyboard Layout to Spanish
Have you ever tried to use a keyboard that is not configured to match its own layout? If so, then you are probably already used to having to check the ASCII codes for special characters like the symbol “@” (Alt + 64) and the various others, called composed characters of the different languages, for example, “ñ” for Spanish speakers.
Feel free to remove any other Keyboard Layout that may be still there, most of the times the keyboard is something we never change. You must use the “minus” sign to remove the unnecessary keyboard layouts.
Installation destination
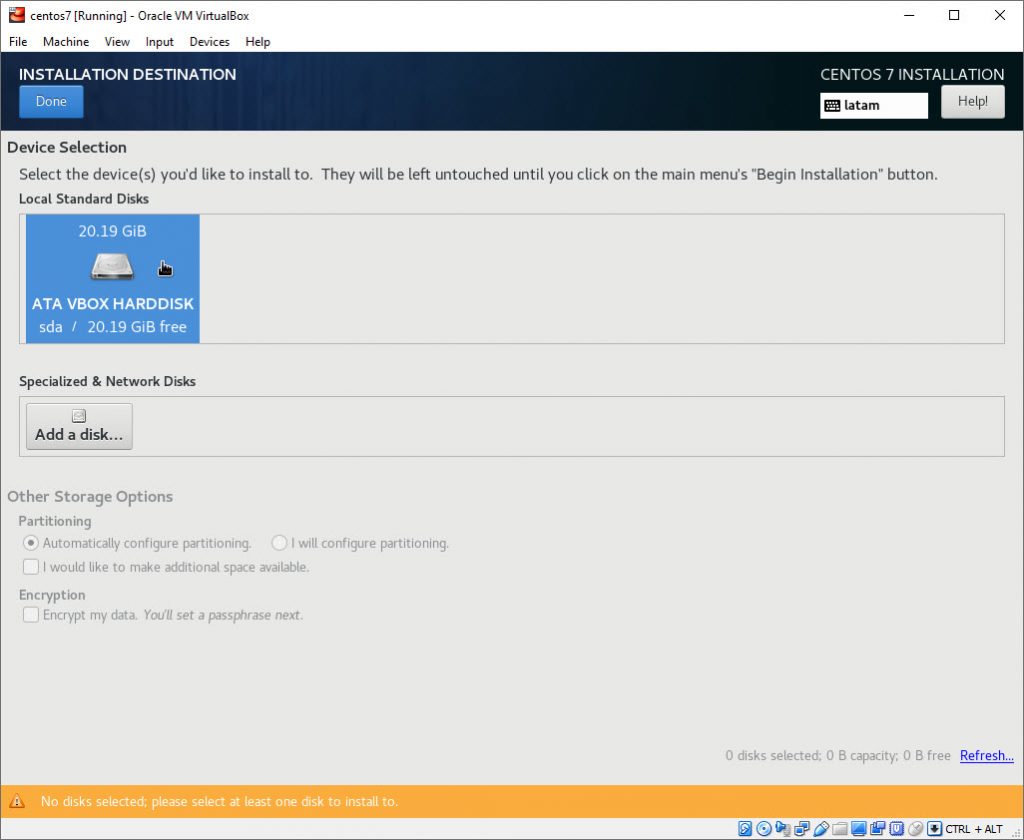
After changing the Keyboard Layout you must select the Virtual Disk where the OS will be installed, you probably remember when creating the VM this was one of the things you had to configure.
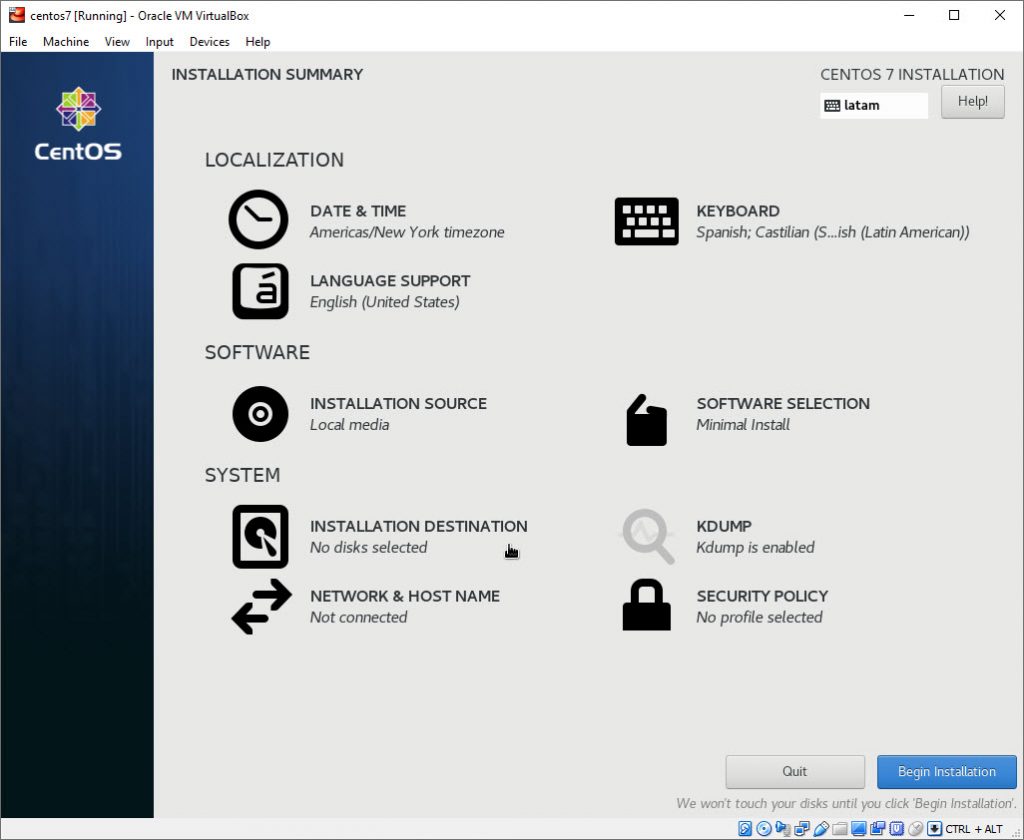
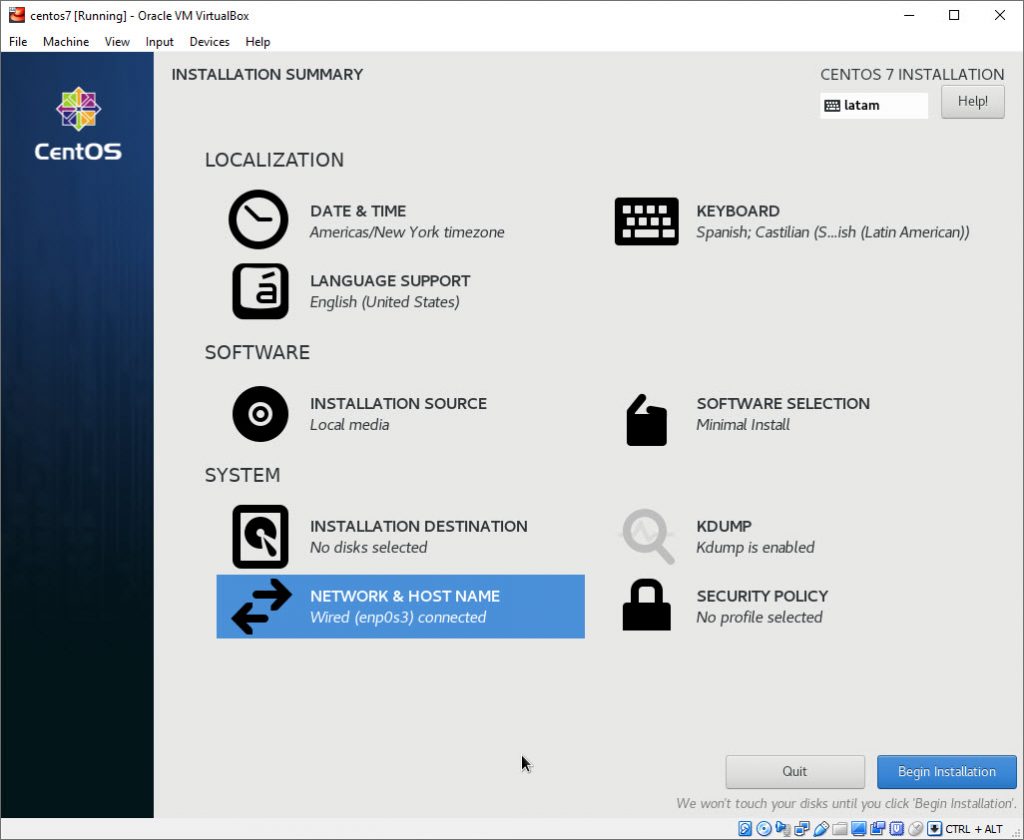
Installation summary
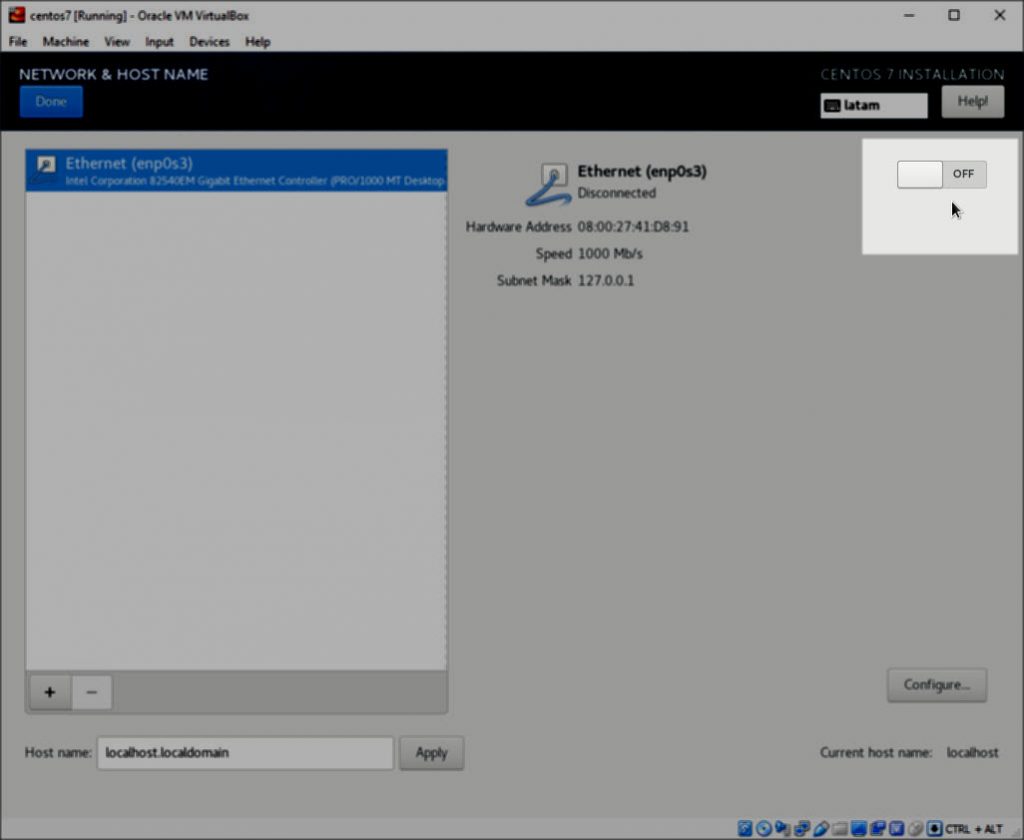
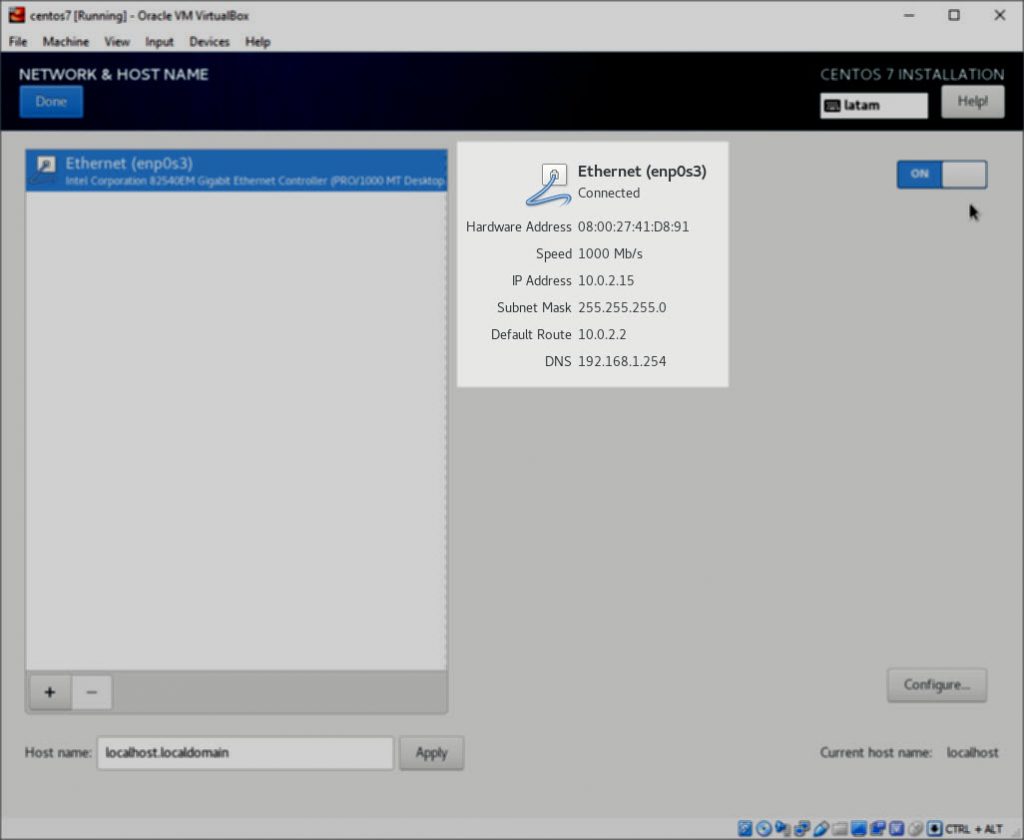
So far, so good, the next step will be to activate the network and pay attention to the IP address that is going to be assigned automatically by DHCP.
Activating the Network
Verify that your computer has received an IP Address from your home’s DHCP.
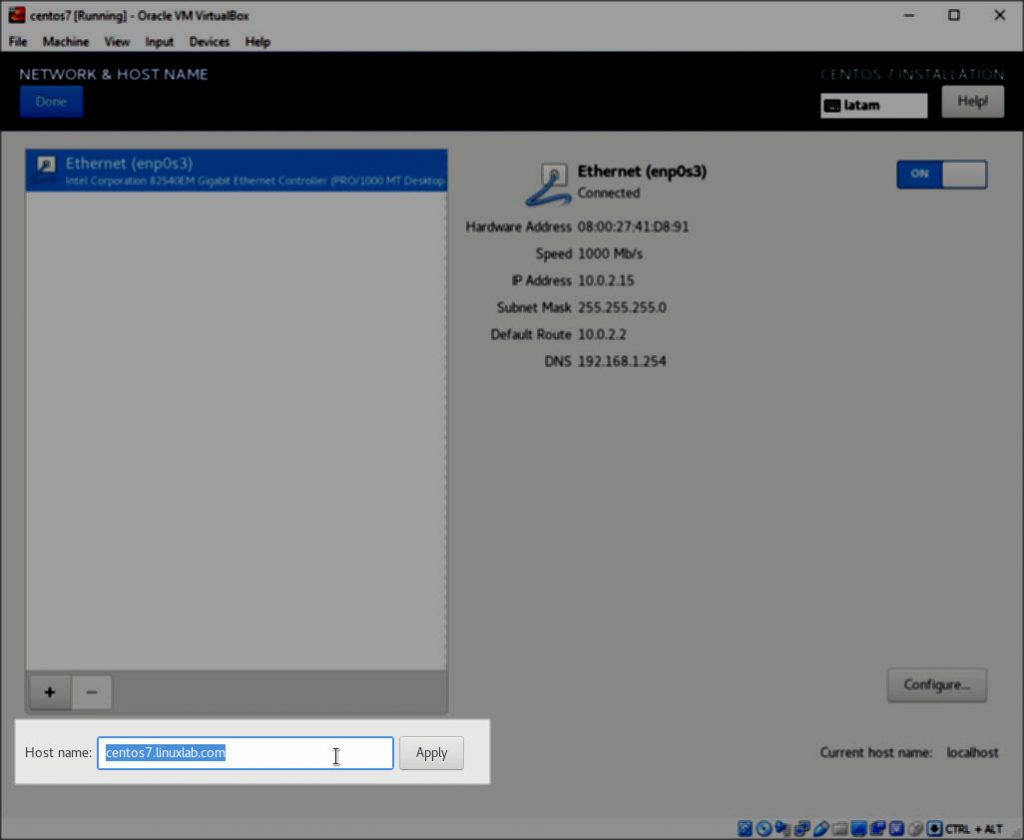
Hostname and Local Domain
The hostname is just the computer’s name, and Local Domain is the name we are going to use as “domain name” inside our home network, usually called LAN (Local Area Network).
Begin installation
Users configuration
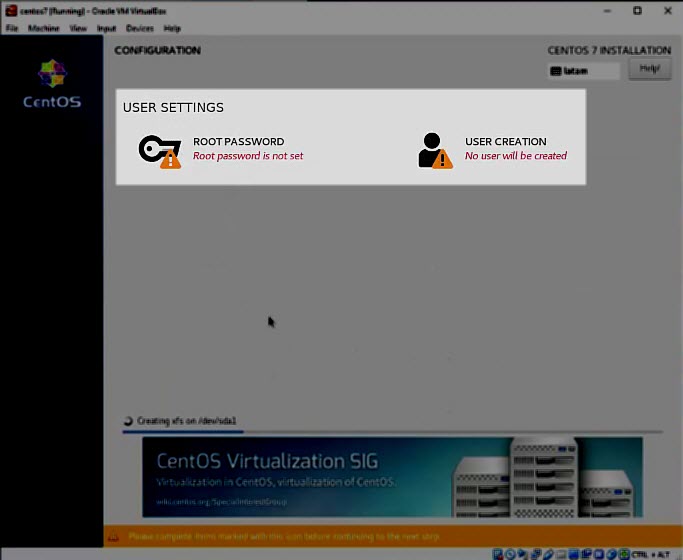
While the installation is making progress you will have the chance to configure the password for the user “root“, aka the “Super User“, and if you want to, you can also create another user who can be configured with administrative privileges if needed.
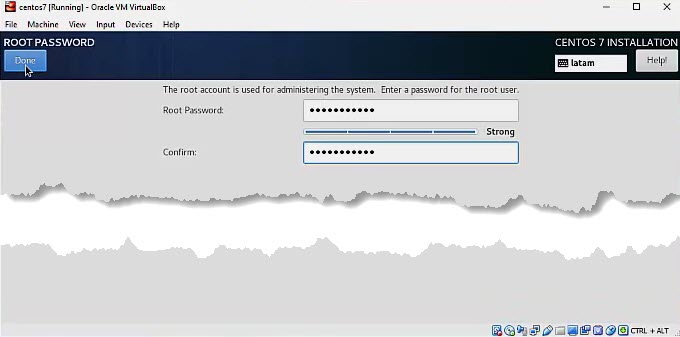
Root Password
Make sure you choose a truly strong password for the “root” account and remember this is the Super User who has all the privileges in your OS.
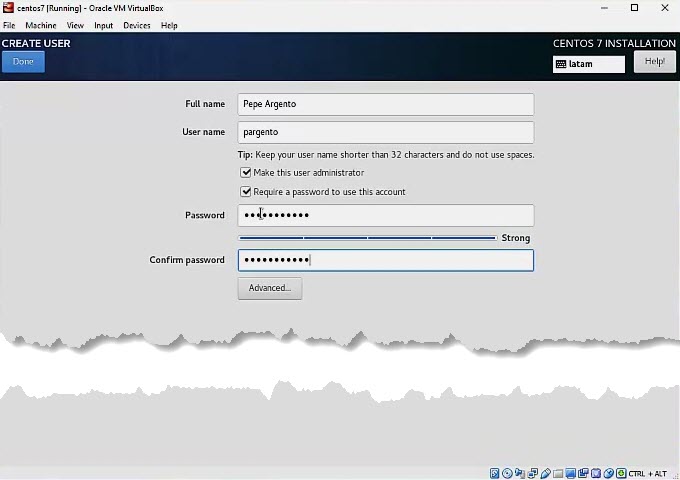
Creating a new user
Best practices dictates to always use a regular user and reduce to the minimum the use of the Super User “root”, at this point you can create a regular user that will be able to do administrative tasks if you assign to it the administrative role, see screenshot below:
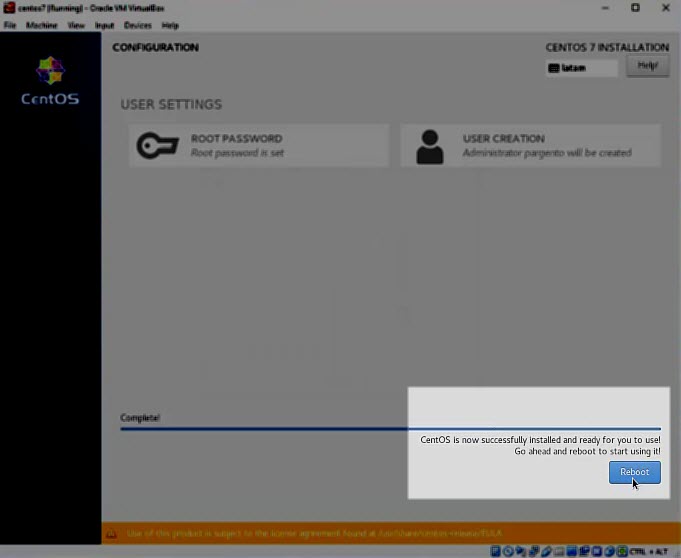
Reboot to finish installation
Installation completed
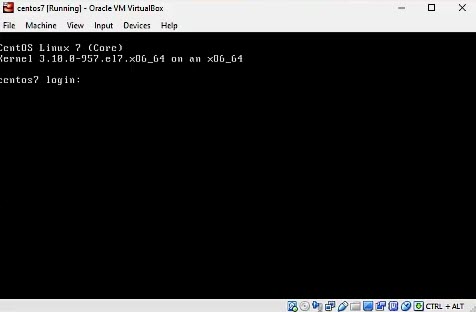
After rebooting the installer comes back with the CLI prompt, where we can login using the credentials of the super user “root” or the credentials of the new regular user that was recently created.
There is no GUI
The first thing you’ll notice immediately after the installation gets completed is that there is no Graphical User Interface (GUI), and that’s because we’ve chosen the minimal version.
The minimal ISO doesn’t comes with a GUI interface, not KDE nor GNOME, nor XFCE, but, you don’t have to worry for that, you’ll see that it is not really needed, everything will be done via the CLI and whenever possible we’ll use WinSCP, which does provide a graphical interface to make the navigation through files and folders an easy thing to do.
Do not forget we are going to use this VM as a server, GUIs like the ones mentioned above are mostly used for end users who run Linux as their desktops Operating Systems, we as Administrators will (and must) manage to live without a GUI.
Where to go from here?
Depending on your availability, from here you’ll have quite a few options:

