Step One – Deleting DNS entries
The first step you must complete when removing an Apache’s Virtual Host is to delete the DNS entries, that way your website will no longer be reachable through its URL.
This step is absolutely necessary for an organized removal of your Apaches’s Virtual Host, if you don’t complete this step first, then the people trying to access your website will get the most weird and unexpected error messages, of course you don’t want that to happen to your visitors.
Even if the files and folders belonging to your website are still on your web server, immediately after the DNS entries are deleted, you can rest assured that nobody will hit your website anymore.
Deleting Digital Ocean DNS entries
The following procedure can be followed by those of you who are using Digital Ocean (DO) to host your websites, most probably through one of the well known DO Droplets (VPS).
- 1 – Login into your DO account and select your Droplet
- 2 – Go to Networking/Domains and select your Domain
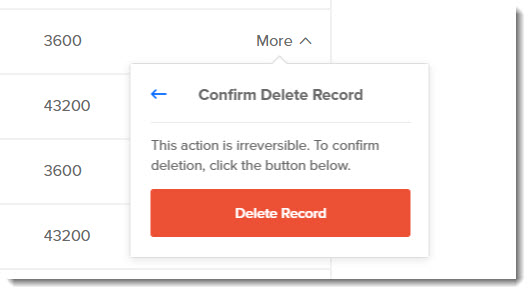
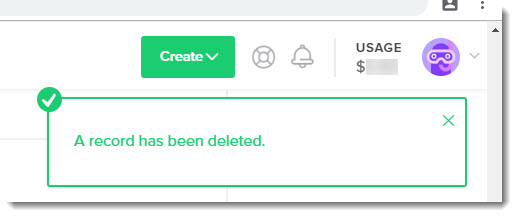
- 3 – Remove first the “A” record
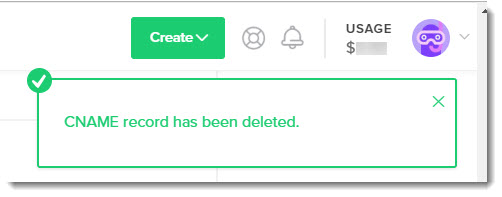
- 4 – Remove the matching “CNAME” record
Step two – Deleting Virtual Host file
As you probably know, deleting the DNS entries doesn’t stop people (the most tech savvy) to reach your Apache’s Virtual Host if they know the IP Address of your server (VPS).
That is because Apache still has an entry for your Virtual Host and will send any request coming via the IP Address to the matching Virtual Host, that’s why the next step is then, to delete the Virtual Host file and reload Apache to allow it to recognize this change.
Finding the right Virtual Host file
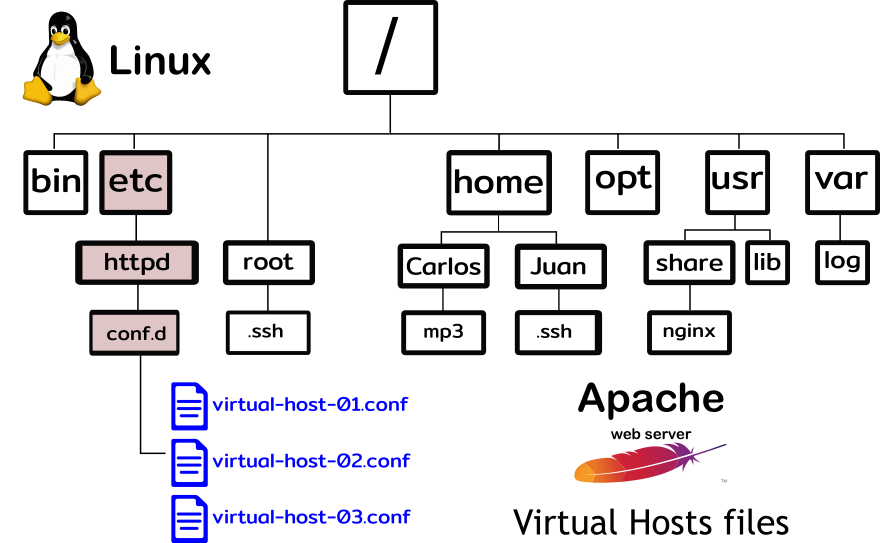
Use the following image of the Linux directory tree (folders) to see where the Virtual Host files are located, and if you need the path for CentOS 7, here you are:
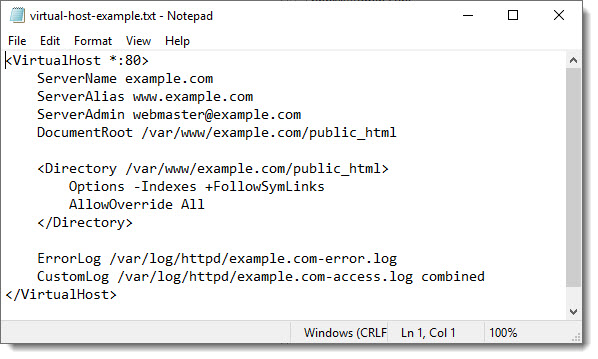
/etc/httpd/conf.d/Example of a typical Virtual Host file
Just in case you want to double check that what you are doing is the right thing here you can see an screenshot of a typical Virtual Host file, as you can see it is just an small text file.
Deleting the Virtual Host file
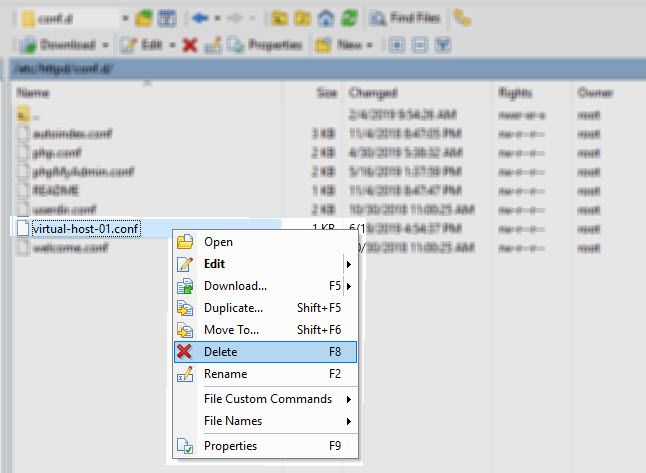
Depending on your preferences, once you’ve identified the Virtual Host file you want to delete, just remove it either via the CLI using the “rm” command or using the GUI provided by WinSCP.
rm virtual-host-01.confNote: Remember that when you are removing a file you don’t have to add any argument to the “rm” command.
The follow screenshot shows how to delete a file using WinSCP
Step three – Restart Apache
Restarting Apache is a task that you’ll get used to more sooner than later, because most of the tasks involving Apache’s files and directories require to restart it, here the CLI command you are going to need for CentOS 7.
sudo systemctl restart httpdStep four – verify Apache status
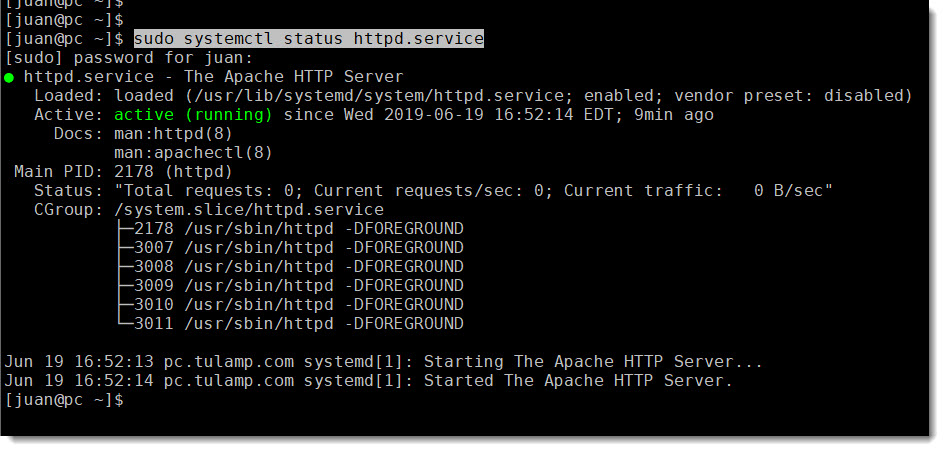
Checking or verifying that Apache is back on its feet could be considered an optional task, but in my opinion it’s always at your best interest to make sure the changes you made didn’t affected the normal execution of your web server.
sudo systemctl status httpd.serviceStep five – Remove Virtual Host files
This step can be considered optional if you don’t mind having some files and folders that are not really being used, it’s going to be kind of backup of your website.
The truth is that most of the times people just prefer to remove all these files and folders to have a clean OS and save some disk space at the same time, it is totally up to you.
If you were using SSL certificates for your Virtual Host then, also optional, do find them on your server and delete them too.
Step six – Delete WordPress Data Base
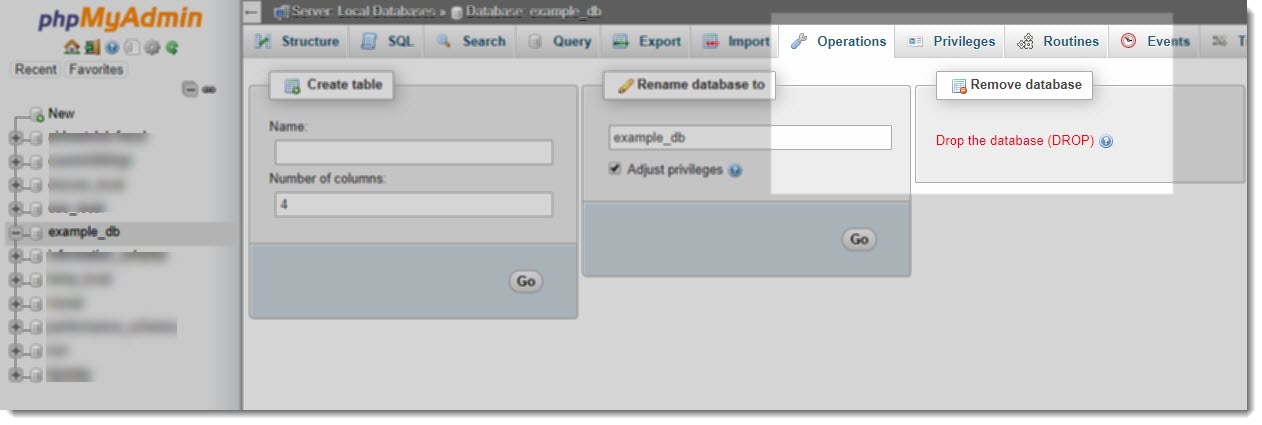
If your website was running on WordPress, then there is an additional step for you, I’m talking about deleting the WordPress Data Base, that task can be done either via the CLI or if you prefer the GUI fashion then you can count with PHP MyAdmin for this task.
As you can imagine, Data Bases are the main processor and memory consumers so this step shouldn’t be optional because every time you are removing an Apache’s Virtual Host you’ll want to get back as much resources as possible to improve the performance of your server.
We’re going to use phpMyAdmin to delete the Data Base because its GUI makes this task a lot easy.
Wrapping Up
Ok, we’ve covered a bunch of things here, I didn’t went deep really, that was never my intention, instead what I wanted to have was a sort of check list to be used when removing an Apache’s Virtual Host.
I hope you’ve find this article useful, please don’t hesitate to contact us if you have any question and/or suggestion.

