Installing WordPress on CentOS 7
We’ve created a brand new Apache’s Virtual Host and we tested it using a simple, probably the simplest HTML file of all, the next step for us is to replace that file with WordPress because we are going to use that particular CMS (Content Management System) to build our website.
Where to download WordPress?
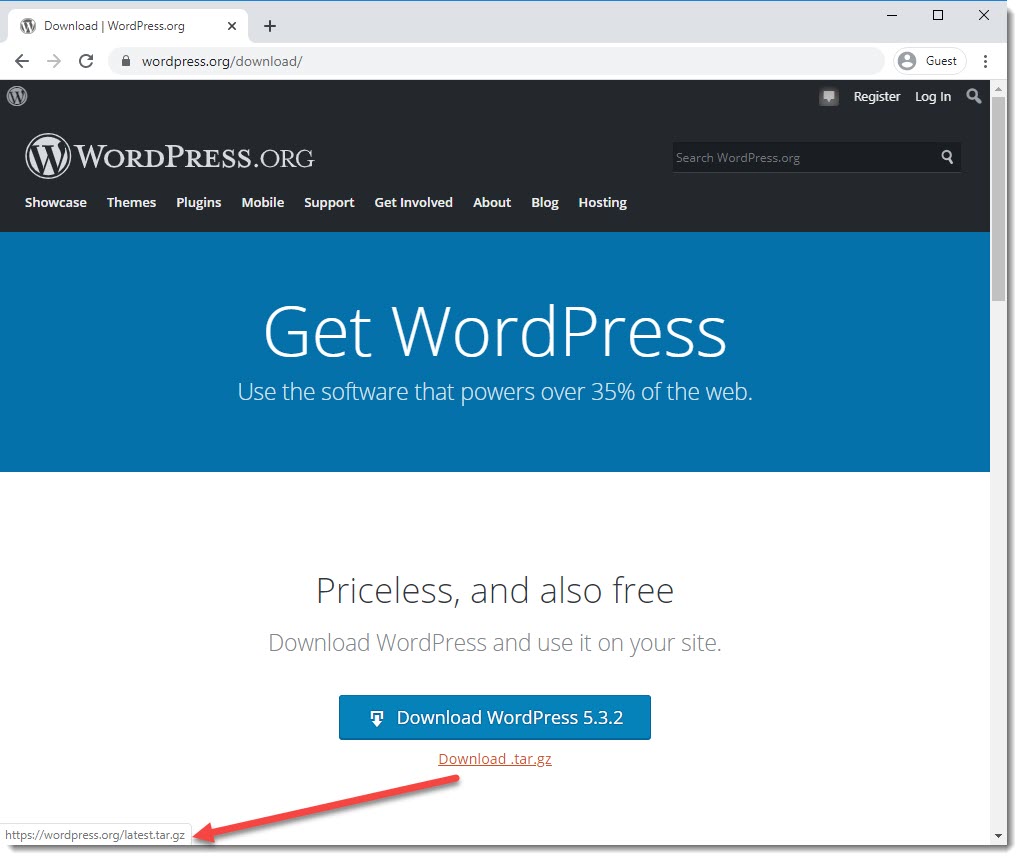
As you probably know, wordpress is available for free, the wordpress’ team always put together all the necessary files and folders for us to download, that way you can rest assured you’ll be always downloading the latest stable version.
Downloading the latest version of WordPress
We can copy the download URL and use it as the parameter for “wget” to be able to download the file via the CLI on our Linux.
wget is a widely used network downloader which supports HTTP and HTTPS, by default, wget download files in the current working directory.
You can use “pwd” to see the current working directory.
If you want to download the file to an specific directory then you must use the “-P” option and do not forget to also include the path to your folder of preference, see the example below.
wget http://wordpress.org/latest.tar.gz -P /var/www/example.com/public_html
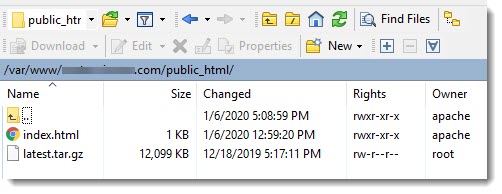
If you have been following all the proposed steps, at this point you should have both files inside the “public_html” directory of your Virtual Host, see below screenshot taken from WinSCP.
Extracting WordPress files
Once we have the .gz file, the next step is to extract the files and folders, this task is an easy one, the CLI command to be used below:
tar xzvf latest.tar.gz
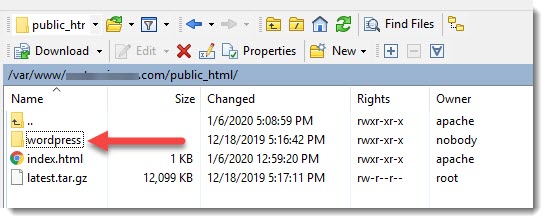
Immediately after the execution of the above command you will see a new folder called “wordpress”, see below screenshot.
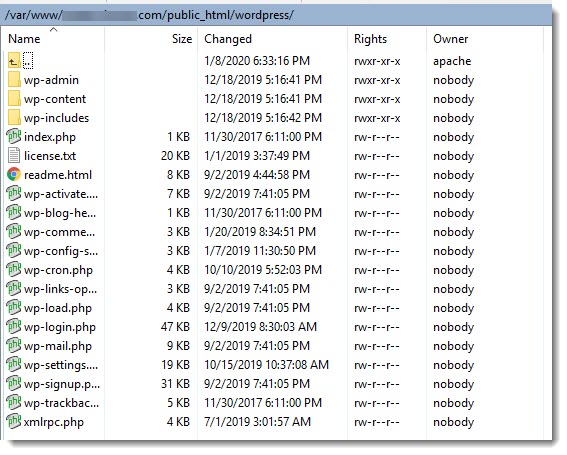
If you open that folder you will be able to see all the wordpress files and folders
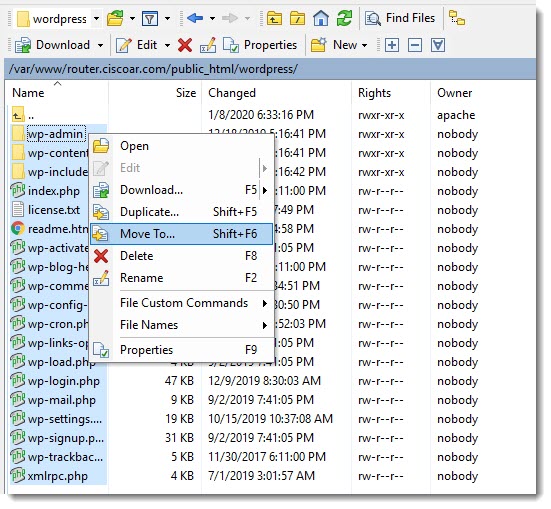
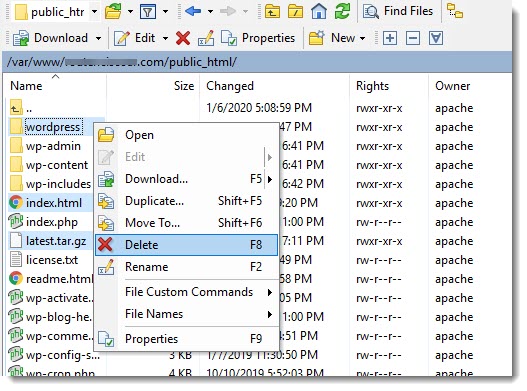
We have to move all these files and folders one level up, and after that we can delete the “wordpress” folder because it will be left empty, let’s do that using WinSCP.
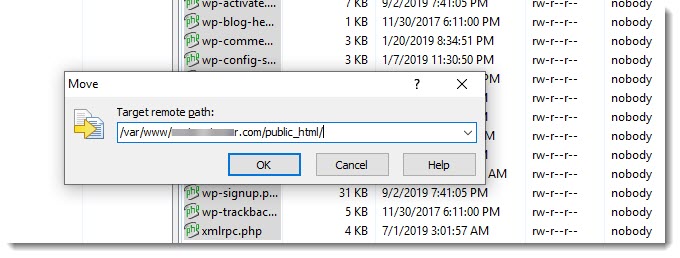
Specify the correct path and hit “OK”
Those of you who prefer the CLI can use “rsync” to achieve the same.
Setting ownership and permissions
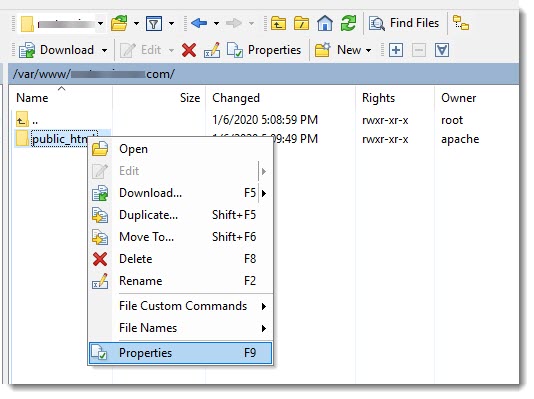
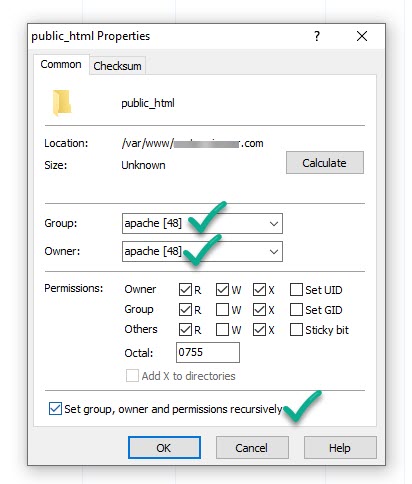
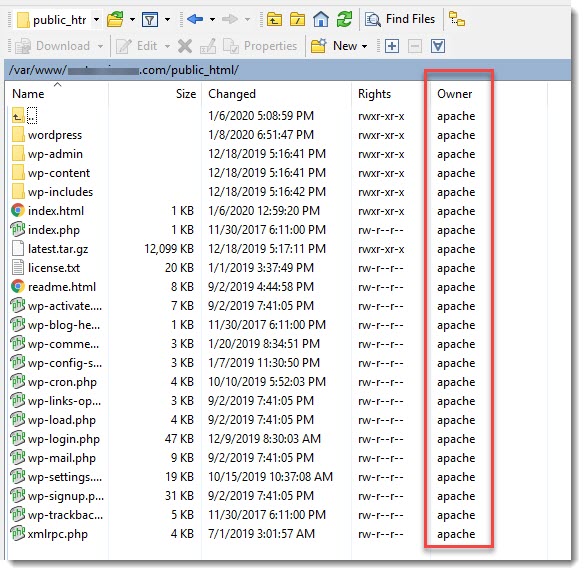
As you probably noticed the last column “Owner” states “nobody”, let’s fix that making sure that Apache will be able to not only read but also to modify these files, every time is needed, for example when a new version of wordpress is released and you want to update your wordpress.
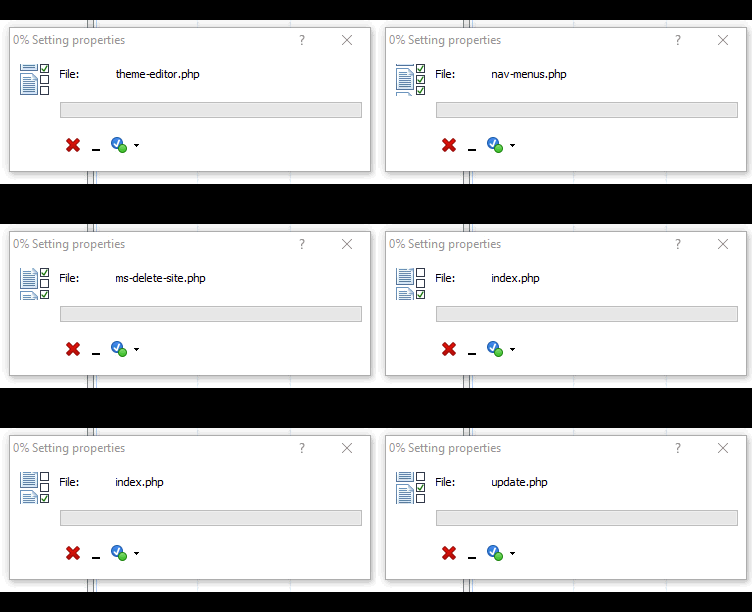
This step can also be done from the CLI, see the necessary command below:
chown -R apache:apache /var/www/example.com/public_html/*
WordPress.org recommends the following
The following are the permissions settings recommended by WordPress.org at this article.
Permissions settings recommended for directories (folders)
find /var/www/example.com/public_html -type d -exec chmod 755 {} \;Permissions settings recommended for files (general)
find /var/www/example.com/public_html -type f -exec chmod 644 {} \;Permissions settings recommended for the file “wp-config.php“
chmod 600 wp-config.phpPermissions settings recommended for the file “.htaccess“
chmod 600 .htaccessThis step is always completed really fast from the CLI, but you can take a look at the WinSCP GUI to get a graphical understanding of what was donde, the image below shows how the “Owner” and “Rights” columns must look like.
Before moving to the next step, a very good practice is to delete the files and folders that are no longer needed, an small cleaning up is always welcome.
Setting SELinux for WordPress
This step is only needed for systems using SELinux, and it is necessary to be able to install worpress upgrades in the future.
As you can imagine, when doing an upgrade a few files needs to be changed/overwritten and most probably new ones have to be created, same situation with directories, it all dependes on each update, for that reason Apache has to be allowed on SELinux to do these kind of changes.
IMPORTANT:
This change must be performed from the CLI using the “root” account.
chcon -t httpd_sys_rw_content_t /var/www/example.com/public_html/ -R
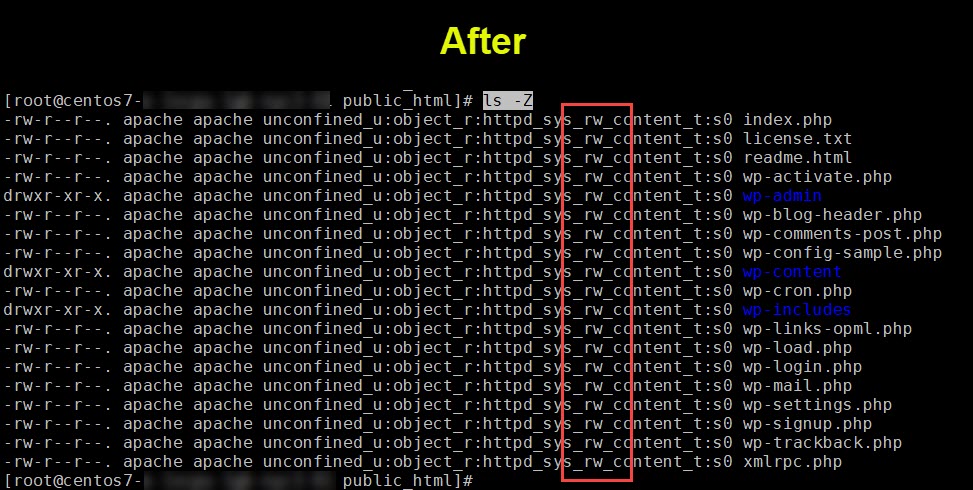
Configuring SELinux may seem unnecessary now because we’ve installed the latest WordPress version and because of that our wordpress will stay unchanged for some time, but, believe me, more sooner than later a new version of wordpress will be released and you’ll have to update it, see this article to learn how to update your WordPress.
Where to go next?
We’re making good progress, our WordPress was put in place and both the ownership and read and write (rw) permissions have been configured, the last step will be to connect wordpress with Maria Data Base, let’s do that in two separate parts as follow:

