Firewall settings by default
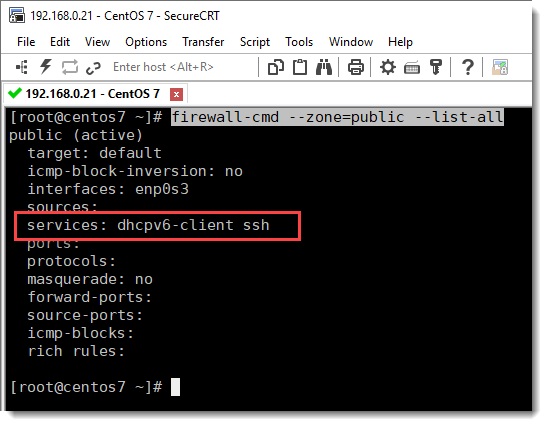
By default the firewall is not configured to allow Apache’s traffic, you can check which services are on the firewall exception list using the following CLI command.
firewall-cmd --zone=public --list-allAs you can see in the image above, there are only two services on the firewall exception list, DHCPv6-client and SSH, we want to have there also HTTP and HTTPS the last one will be included when configuring the certificates, by now, just adding “http” we’ll be fine.
Adding Apache to the firewall
You can permanently add an entry for Apache running the following CLI command.
firewall-cmd --zone=public --permanent --add-service=httpReload firewall to activate changes
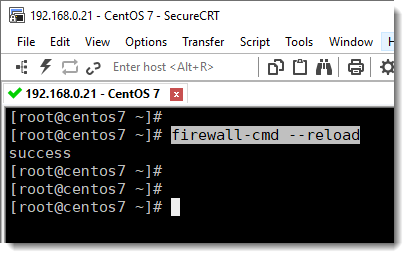
In order to activate the changes you must reload the firewall, and for that you can run the following CLI command:
firewall-cmd --reloadFirewall settings after adding “http”
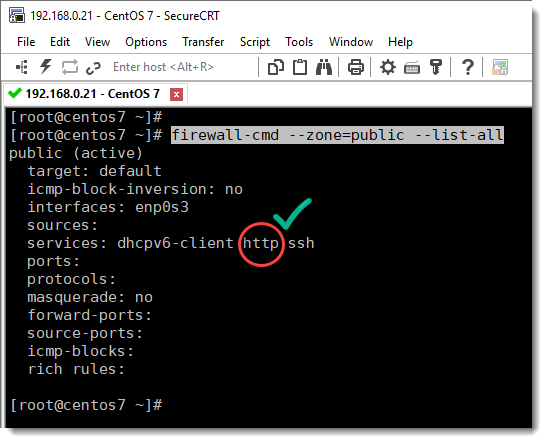
Let’s check now once again to see if “http” was actually added as an exception to the firewall.
firewall-cmd --zone=public --list-allYou can also add “https” following the same procedure, in our case we are going to do that in a further article, when configuring the certificates.
Apache is now working fine
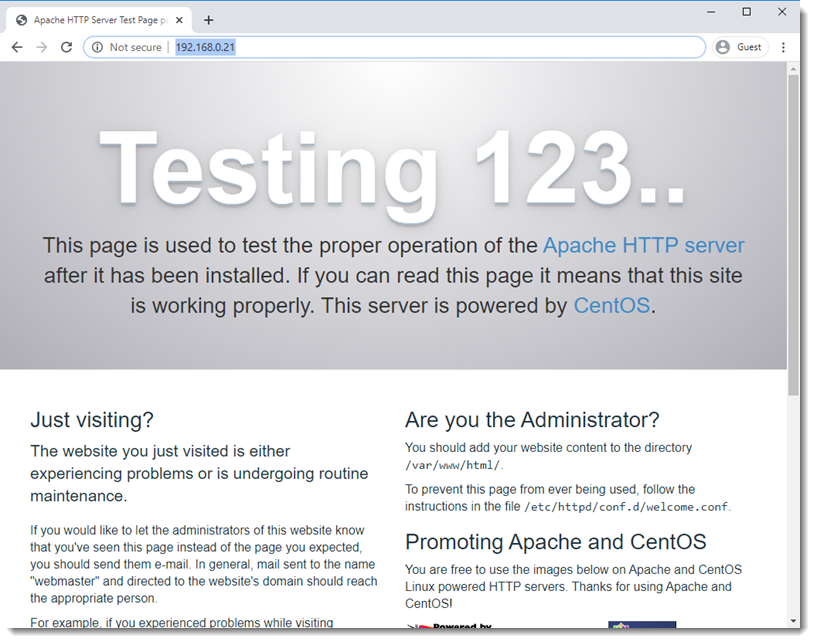
Now that you know Apache service is up and running and the firewall is configured properly, try again to open the Apache’s Test Page using your browser and the IP Address of your CentOS Virtual Machine, you must be able to see the following page:
Where to go next?
You can now move forward to the most important topic you’ll find when it comes to Apache’s capabilities, I’m talking about Virtual Hosts.


