Create folders
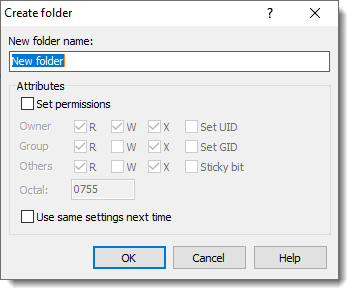
As you can imagine the next step is the creation of the virtual host’s folders metioned inside the “.conf” file, let’s once again do it using the WinSCP GUI.
Type the same folder’s name you have in your virtual host “.conf” file
Inside that folder create another one called “public_html“, be sure you are creating the folder using the same folder’s name you have on your virtual host “.conf” file.
Create directories using the CLI
It is true that when it comes to the creation of folders and subfolders the GUI is not the most efficient way to accomplish that task, if you are one of the persons who always want to save time, then, feel free to adapt an use the following CLI command.
- mkdir -p /var/www/subdomain.example.com/public_html
This command will create both folders at once, the perfect time saver.
Ownership and Permissions
We are going to set the Ownership and also the files and folder permissions using the GUI provided by WinSCP later in this article, we don’t want to duplicate efforts when setting ownership and permissions so we are going to do that once all the files and folders are in place, we’ll use the recursive feature to be sure we set everything at once.
Where to go next?
So far, so good, we are ready to move forward to the next step.


