How to generate SSH keys with SecureCRT
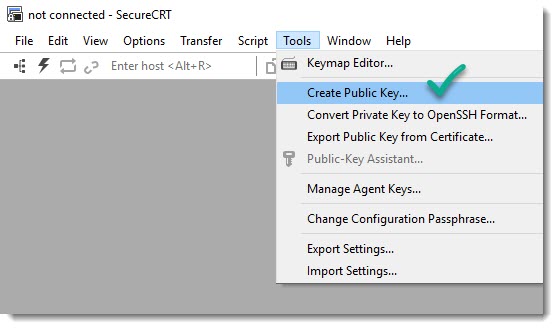
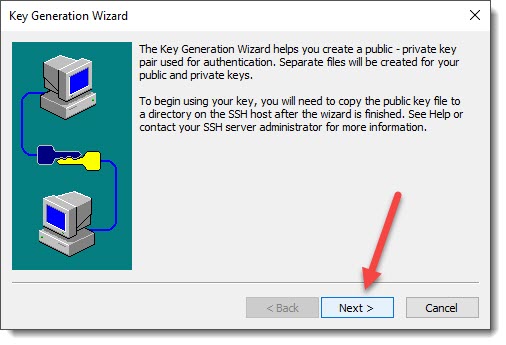
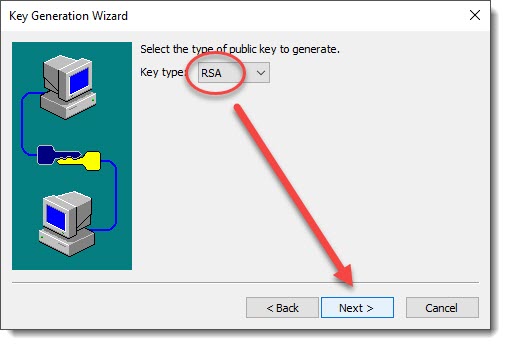
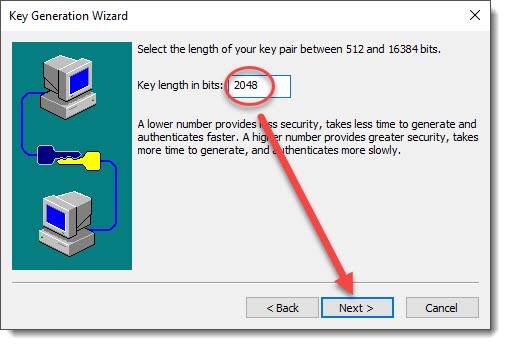
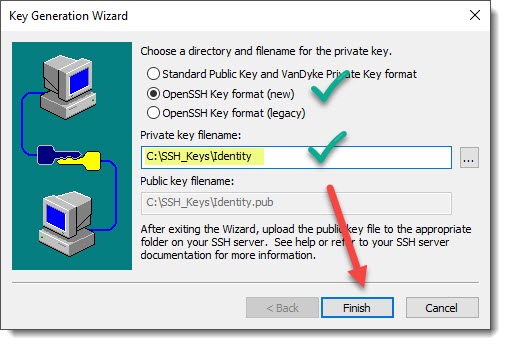
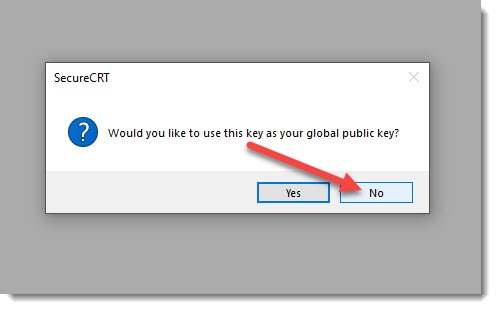
As you can see in the below animation, it is really easy to generate the SSH keys on SecureCRT.

Step by step screenshots
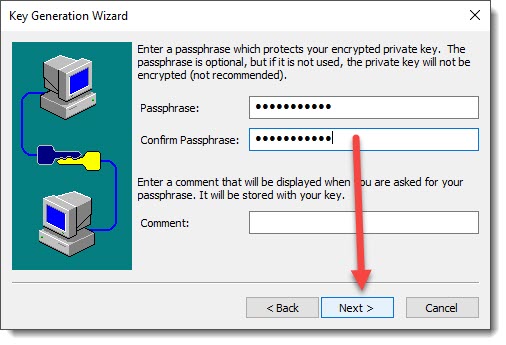
For those of you who prefer to see each step on a separated screenshot, here you are:
Even though the “Passphrase” is optional, it is strongly recommended to set one, otherwise your private key could be find in your computer and used freely, this step ensures that only you will be able to use the key.
SSH Keys have been generated
You have to remember where on your computer the keys have been saved because you’ll have to map the private key to your ssh session and on the other hand you’ll have to copy the public key to the remote machine inside the file called “authorized_keys” as we discussed on this article.
Putty users
Are you a Putty fan? don’t worry, we got you covered! You can take a look at the following article to learn how to generate SSH keys with Putty (actually making use of Puttygen).
WinSCP users
If you are looking for an article on how to generate SSH keys on WinSCP, then you can take a look the article below.
Where to go next?
Now that you have the SSH keys it’s time to start using them, in order to achieve that goal you must complete the following two steps, only once, only the first time, after that you can just open the session as usual and after entering the “passphrase” you’ll logged into your remote device in no time.

