
Digital Ocean Domain settings
In our particular case, we’ve already bought and also configured one domain(IONOS), and because of that we’ve decided that our Virtual Host is going to be accessed via a subdomain, the following steps are useful for people which use Digital Ocean to host their websites for example running Apache on one Digital Ocean Droplet (VPS – Virtual Private Server)
Click the logo to be redirected to Digital Ocean using our referral link to buy their products
Referral Link
Choosing the Domain
In order to see the list of Domains you have available to be modified (in this case we want to add a subdomain) you’ll have to first select Networking and then Domains, see screenshot below:

Create a new “A” Record
Because we are creating a subdomain, we don’t have to define the NS (Name Server) as they were already defined when the main domain (example.com) was created.
So, we are going to create only the “A” record and one “C-Name”, also known as “alias”.
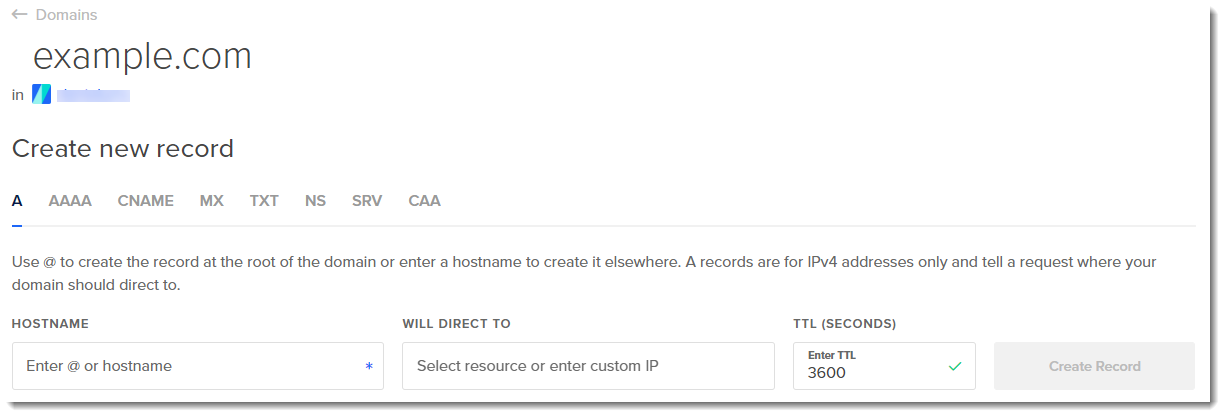
As you can see below as soon as you start typing the subdomain the page will show you below how it looks with its domain attached, what is usually called the website’s URL.
Immediately after you type your subdomain you must select the Digital Ocean droplet IP address where this subdomain will be pointing, see below:
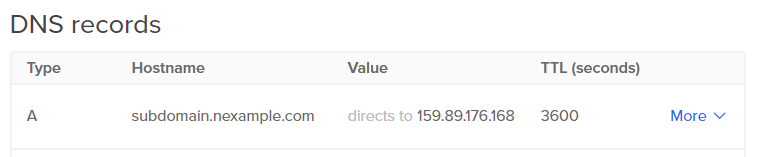
You’ll see at up right corner a confirmation about the new “A” record.
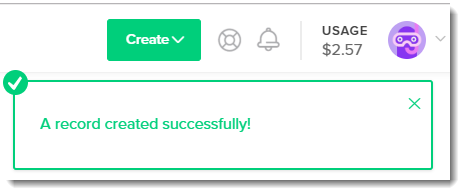
And effectively a new line will apperar containing all the information of the recently created entry.
Create a new “C-NAME” Record
Creating a “C-Name” entry is quite similar, first, be sure to select CNAME, the third option, see below screenshot:
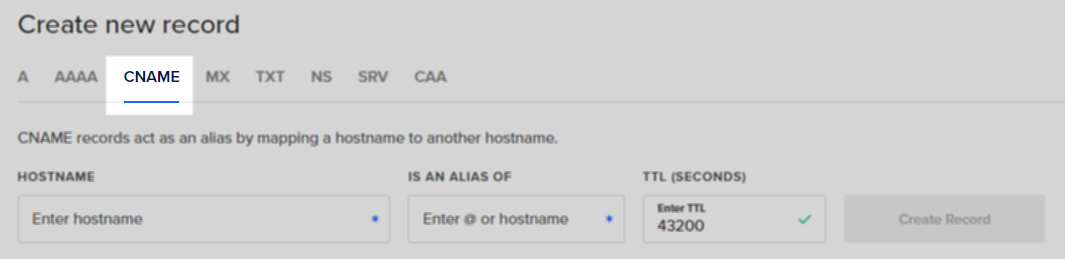
You’ll notice that the title for Hostname hasn’t changed but now we see the word “alias” in the title of the next box, and that’s the key here, that actually a CNAME acts as an alias of our previously create subdomain.
One useful feature that Digital Ocean page has is that we can easily copy just hovering the cursor over the data we want to copy and a little icon apperar allowing us to click to copy, see the below animation.
That’s it! DNS settings completed
And that’s it, you’ve successfully created both the “A” record and also the “CNAME” record, your subdomain is now sending visitors to your Apache’s Virtual Host, either they decide to use the “www” or not, it doesn’t matter, you’ve got them covered.
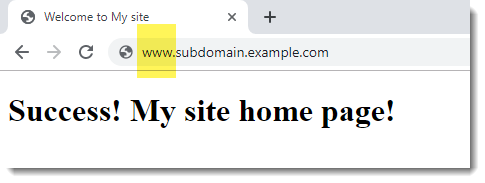
Verify using your browser
If you type either of the URLs, with or without the “www” in your web browser you’ll see the “index.html” page.
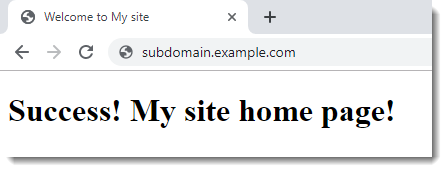
As you can see below the “C-NAME” records acts as an “alias” of the subdomain.
Congratulations!!! We did it!
We’ve successfully completed all the tasks necessary to add a new Virtual Host to our Apache web server that is running on a Digital Ocean VPS (Droplet), congratulations! job well done!
How to remove Apache’s Virtual Host
It is always a good idea to reinforce all the things you’ve learnt so far, a good exercise would be of course to repeat all the steps and do it all once again, and for that purpose you may want to delete the Virtual Host and build it from scratch.
Where to go now?
Your brand new website is now live and accessible from all over the world, the next step would be to get the SSL certificates and forward HTTP traffic to HTTPS to be compliant with current security standards, we’re going to configure the free SSL certificates provided by Let’s encrypt and the installation will be done using Certbot, see the following article to learn how.