Public-key authentication
Due that at this point in our LAMP journey we are still working on a LAB, we’re not going to pay much attention to security measures, authentication via username/password is good enough for a LAB environment, but you must know that there is a more secure option, and in fact this option is nowadays the standard when connecting to a VPS (Virtual Private Server), we are talking about the “Public-Key Authentication” method, where we make use of a pair of SSH keys Public/Private, this particular subject is covered in this article.
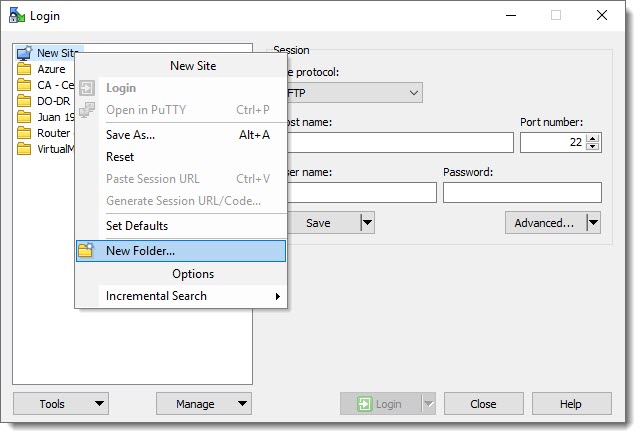
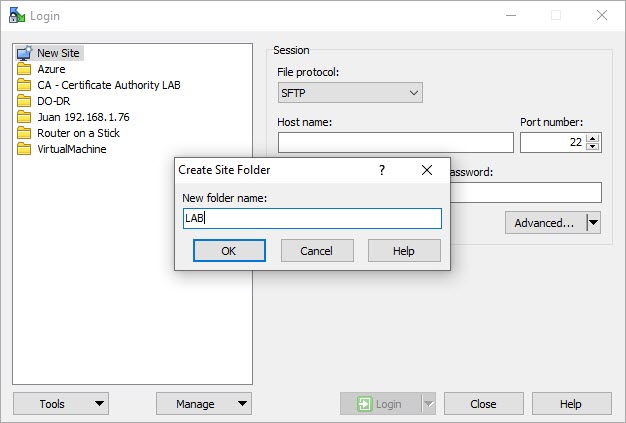
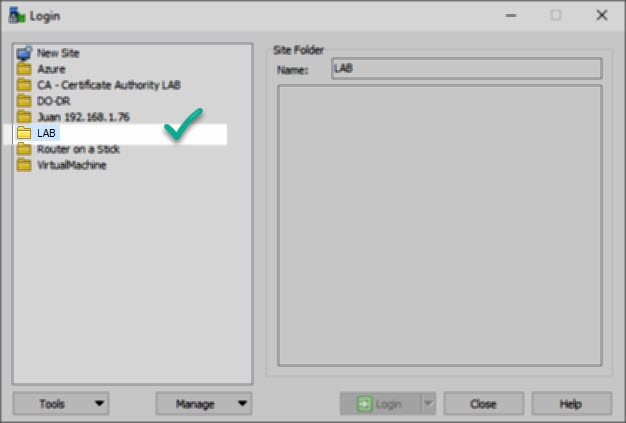
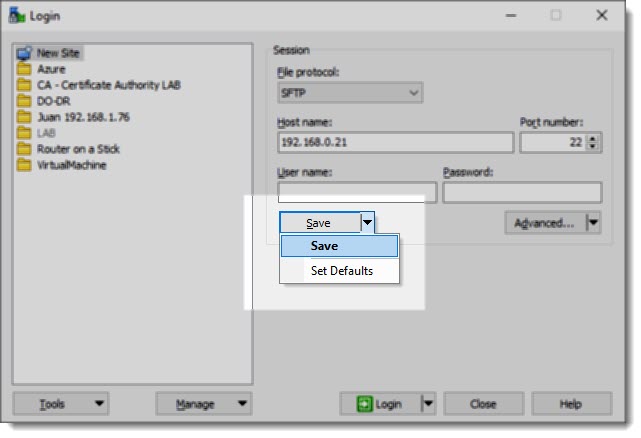
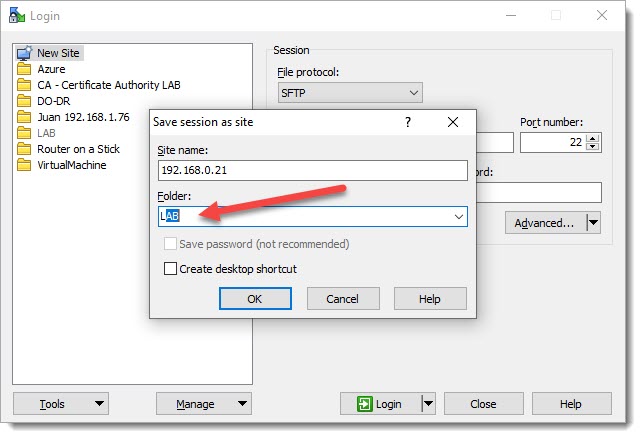
How to create a new folder on WinSCP
We’ve already done the same task (folder creation) on our Terminal Emulator SecureCRT, now we’re going to do it on WinSCP, as you’ll see the steps are just a little bit different but the outcome is exactly the same, we’re gonna get a brand new folder to star organizing sessions.
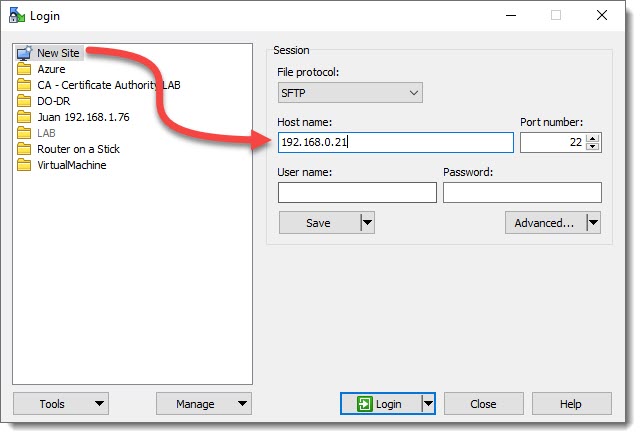
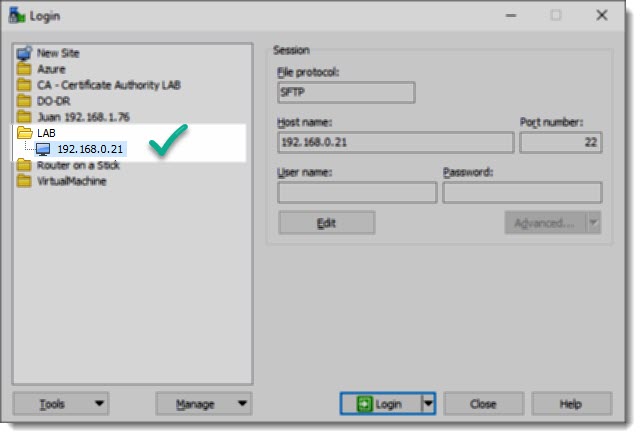
How to create a new session on WinSCP
In order to create a new session you must go to the top of the folder’s tree and click the icon named “New Site” and then complete the IP Address and credentials.
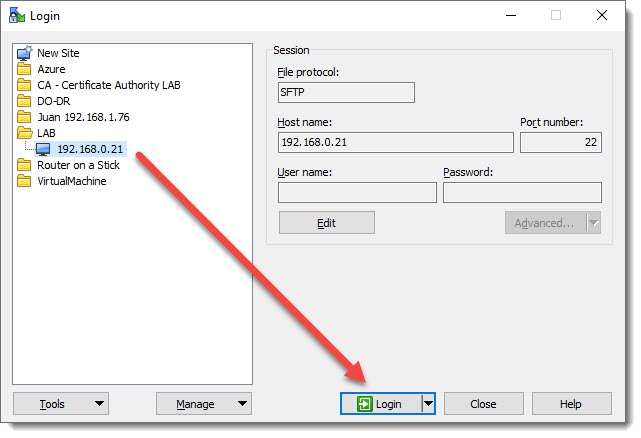
How to open a WinSCP session
Opening a WinSCP session is quite simple once you’ve selected the session you must hit the “Login” button located at the bottom of the window.
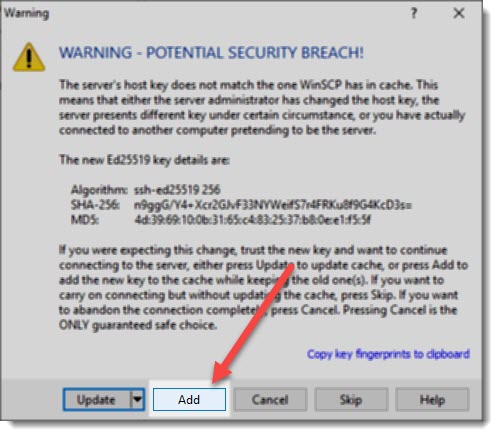
Save Host Key
The first time that you login into a remote machine you must accept the Host Key, see below screenshot.
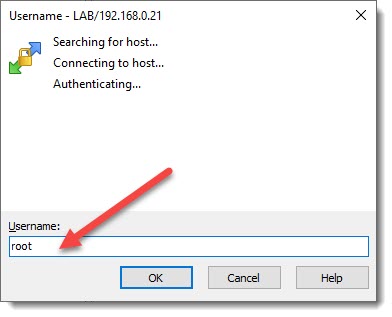
Type username and password
Here once again I want to clarify that because we’re working on a LAB environment we’re going to use the “root” account, but on a real world scenario, for instance when connecting to a VPS (Virtual Private Server), the best practices dictate that you must use another user with “sudo” privileges, that is a common user with administrator rights.
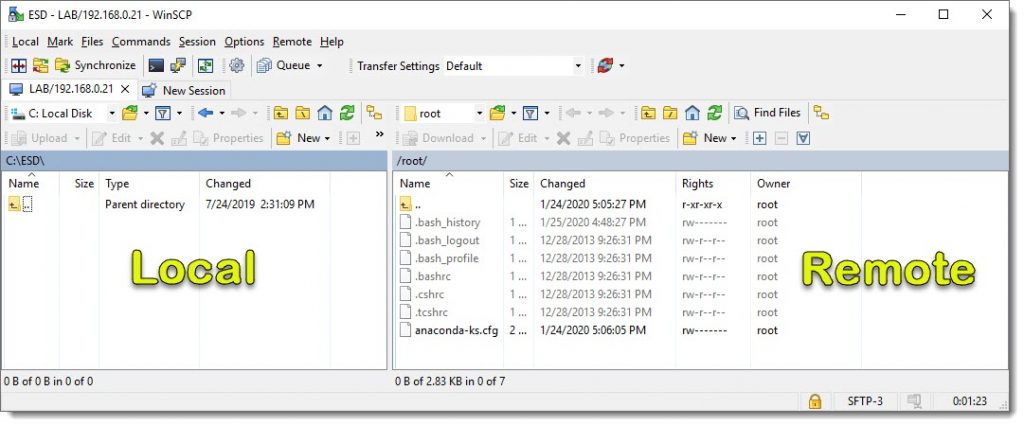
Successful connection
Immediately after the authentication process, in this case using your credentials (username/password) you will see the main WinSCP Window where you will do most of the things, please notice that on the left side are the folders which belong to your local computer, most of the times, a Windows machine, on the right side you will see the remote computer/server in out case our linux machine, our CentOS 7.
How to disconnect
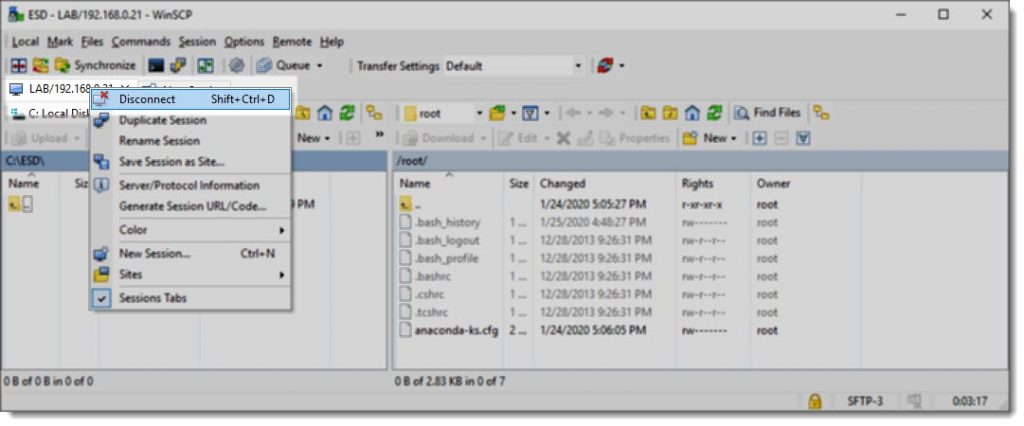
Disconnecting from your remote computer/server is quite easy, you must right click the correct TAB and from the drop down menu select “Disconnect”, as you can see in the follow image there is also a shortcut for this action, it is “Shift+Ctrl+D”.
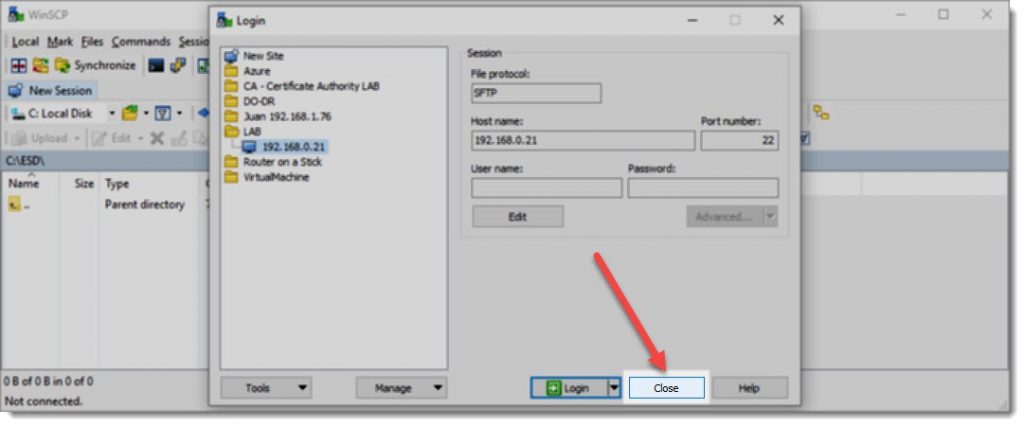
How to close WinSCP
If you want to completely close WinSCP you must hit the button called “Close” located at the bottom of the window, this action will close all the windows.
Where to go next?
The tool I use the most when working with WinSCP is the Bookmark List, you can learn how to use it taking a look at the following article.

